TABLE OF CONTENTS
- COMPANY INFORMATION
- MANAGE USERS
- MANAGE INVITES
- MANAGE ROLES
- MANAGE GROUPS
- COMPANY SETTINGS
- DELETING YOUR COMPANY
STEP 1
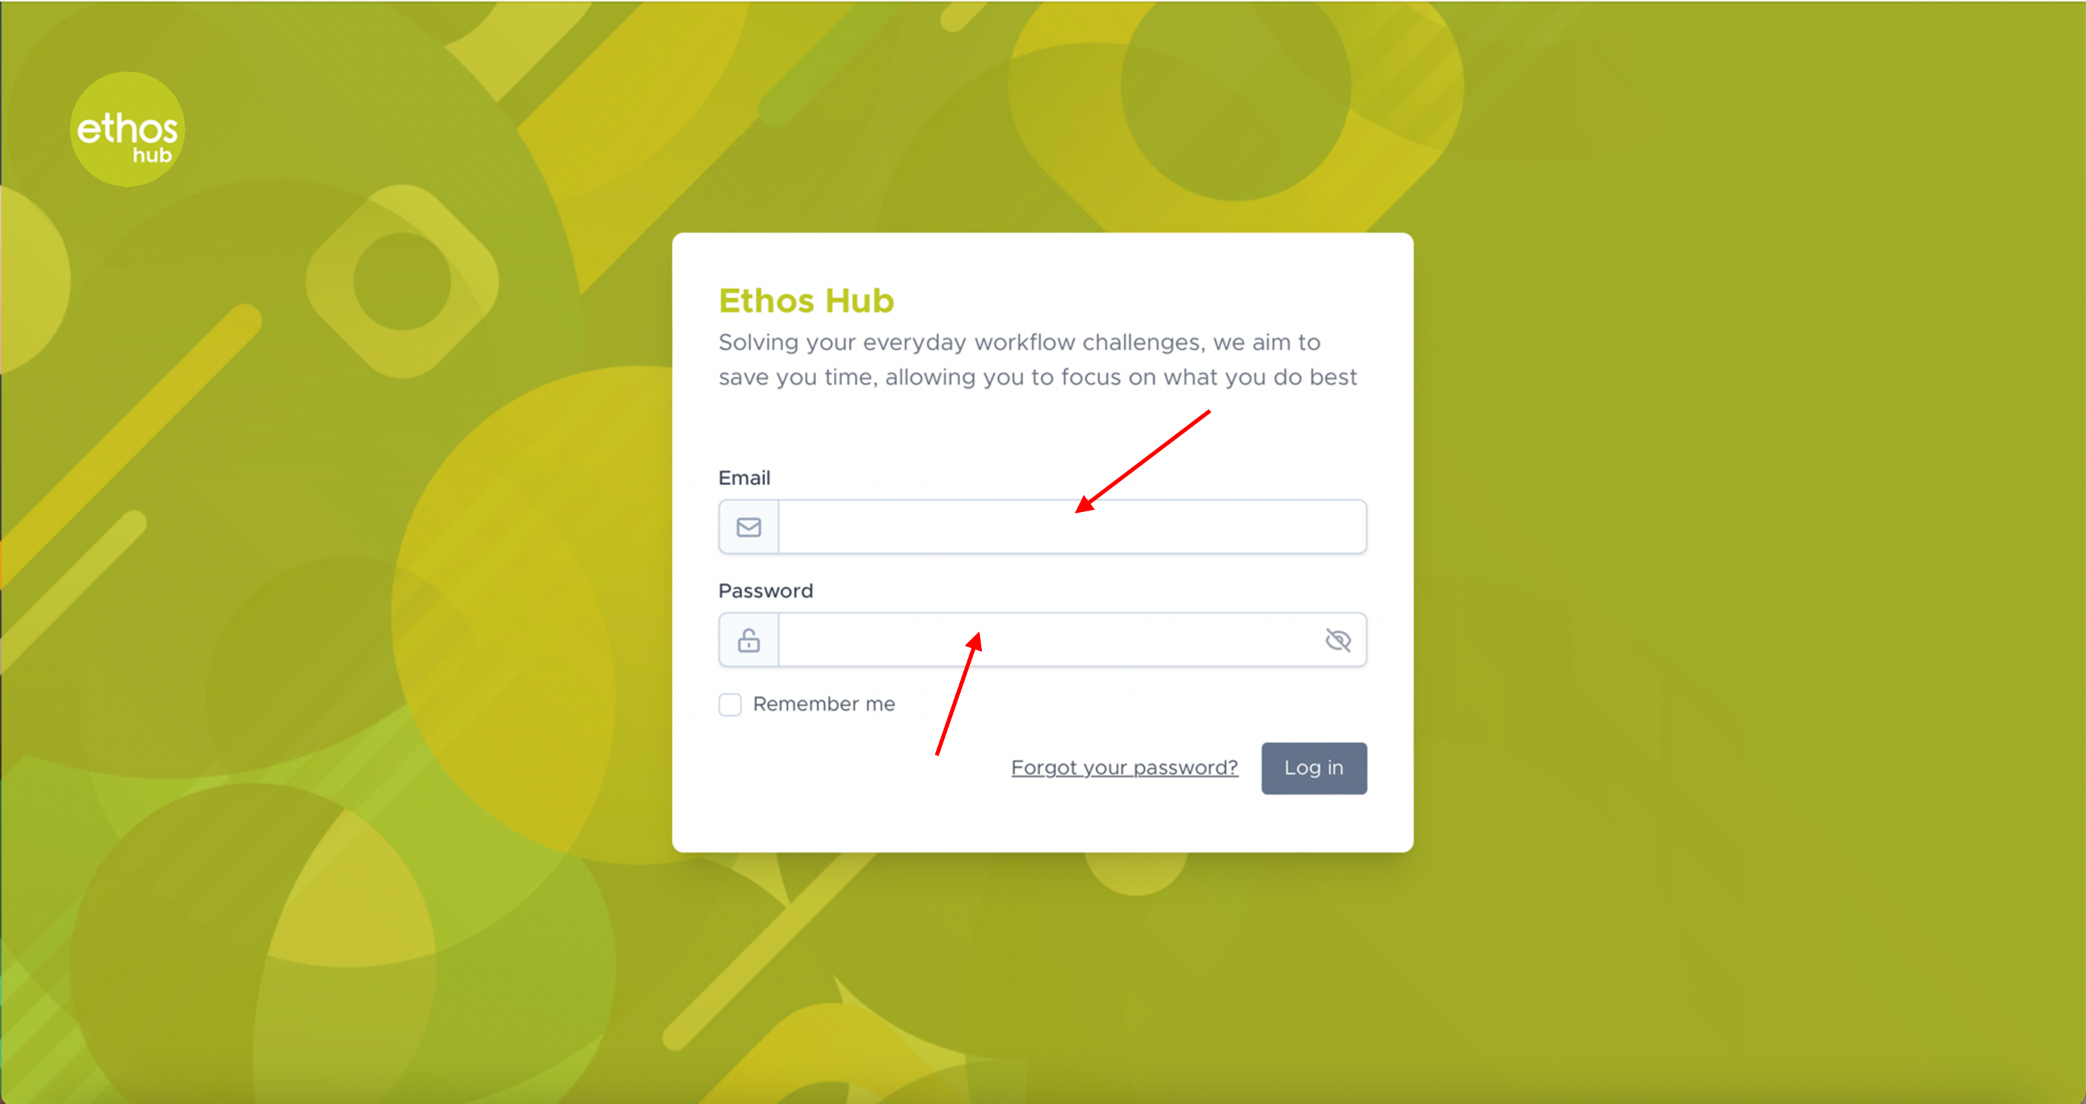 Enter your login email and password.
STEP 2
Once you are logged in, please select the icon in the right-hand of the top taskbar that will also have your display name next to it as shown below.

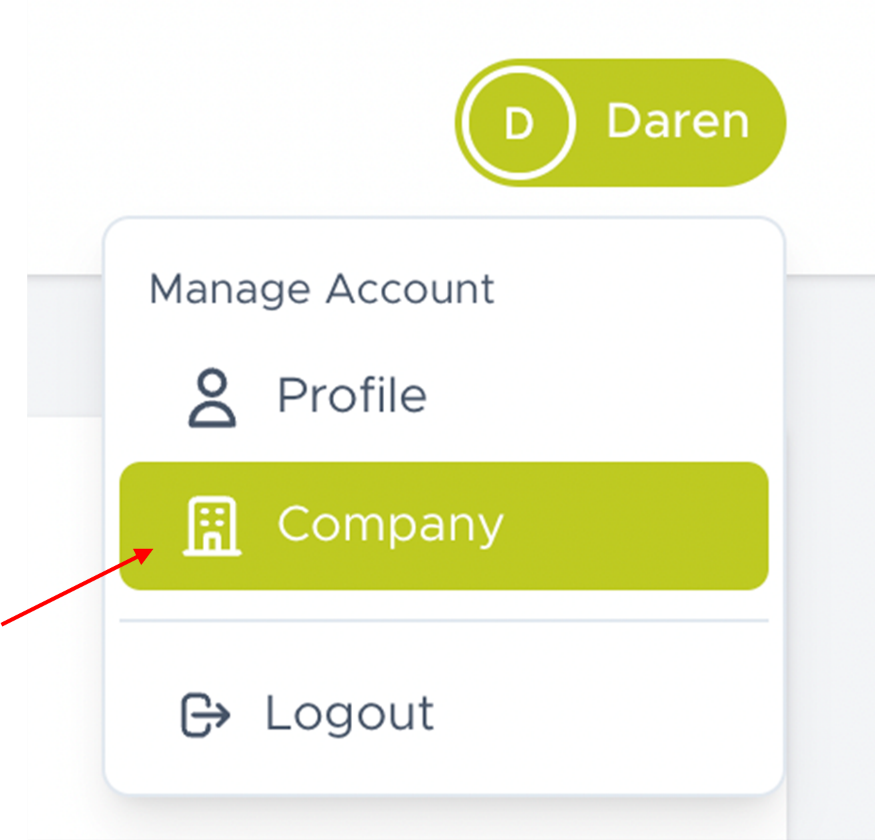
Note: If you do not choose to upload an image of your own, your display photo will look different depending on your display name. For example, if your display name reads ‘Daren’. Your display photo will be the initial of your first name i.e., ‘D’ followed by the name, ‘Daren’.
Click on the drop -down menu a select company. You will now be presented with the company information screen shown in the screenshot below.
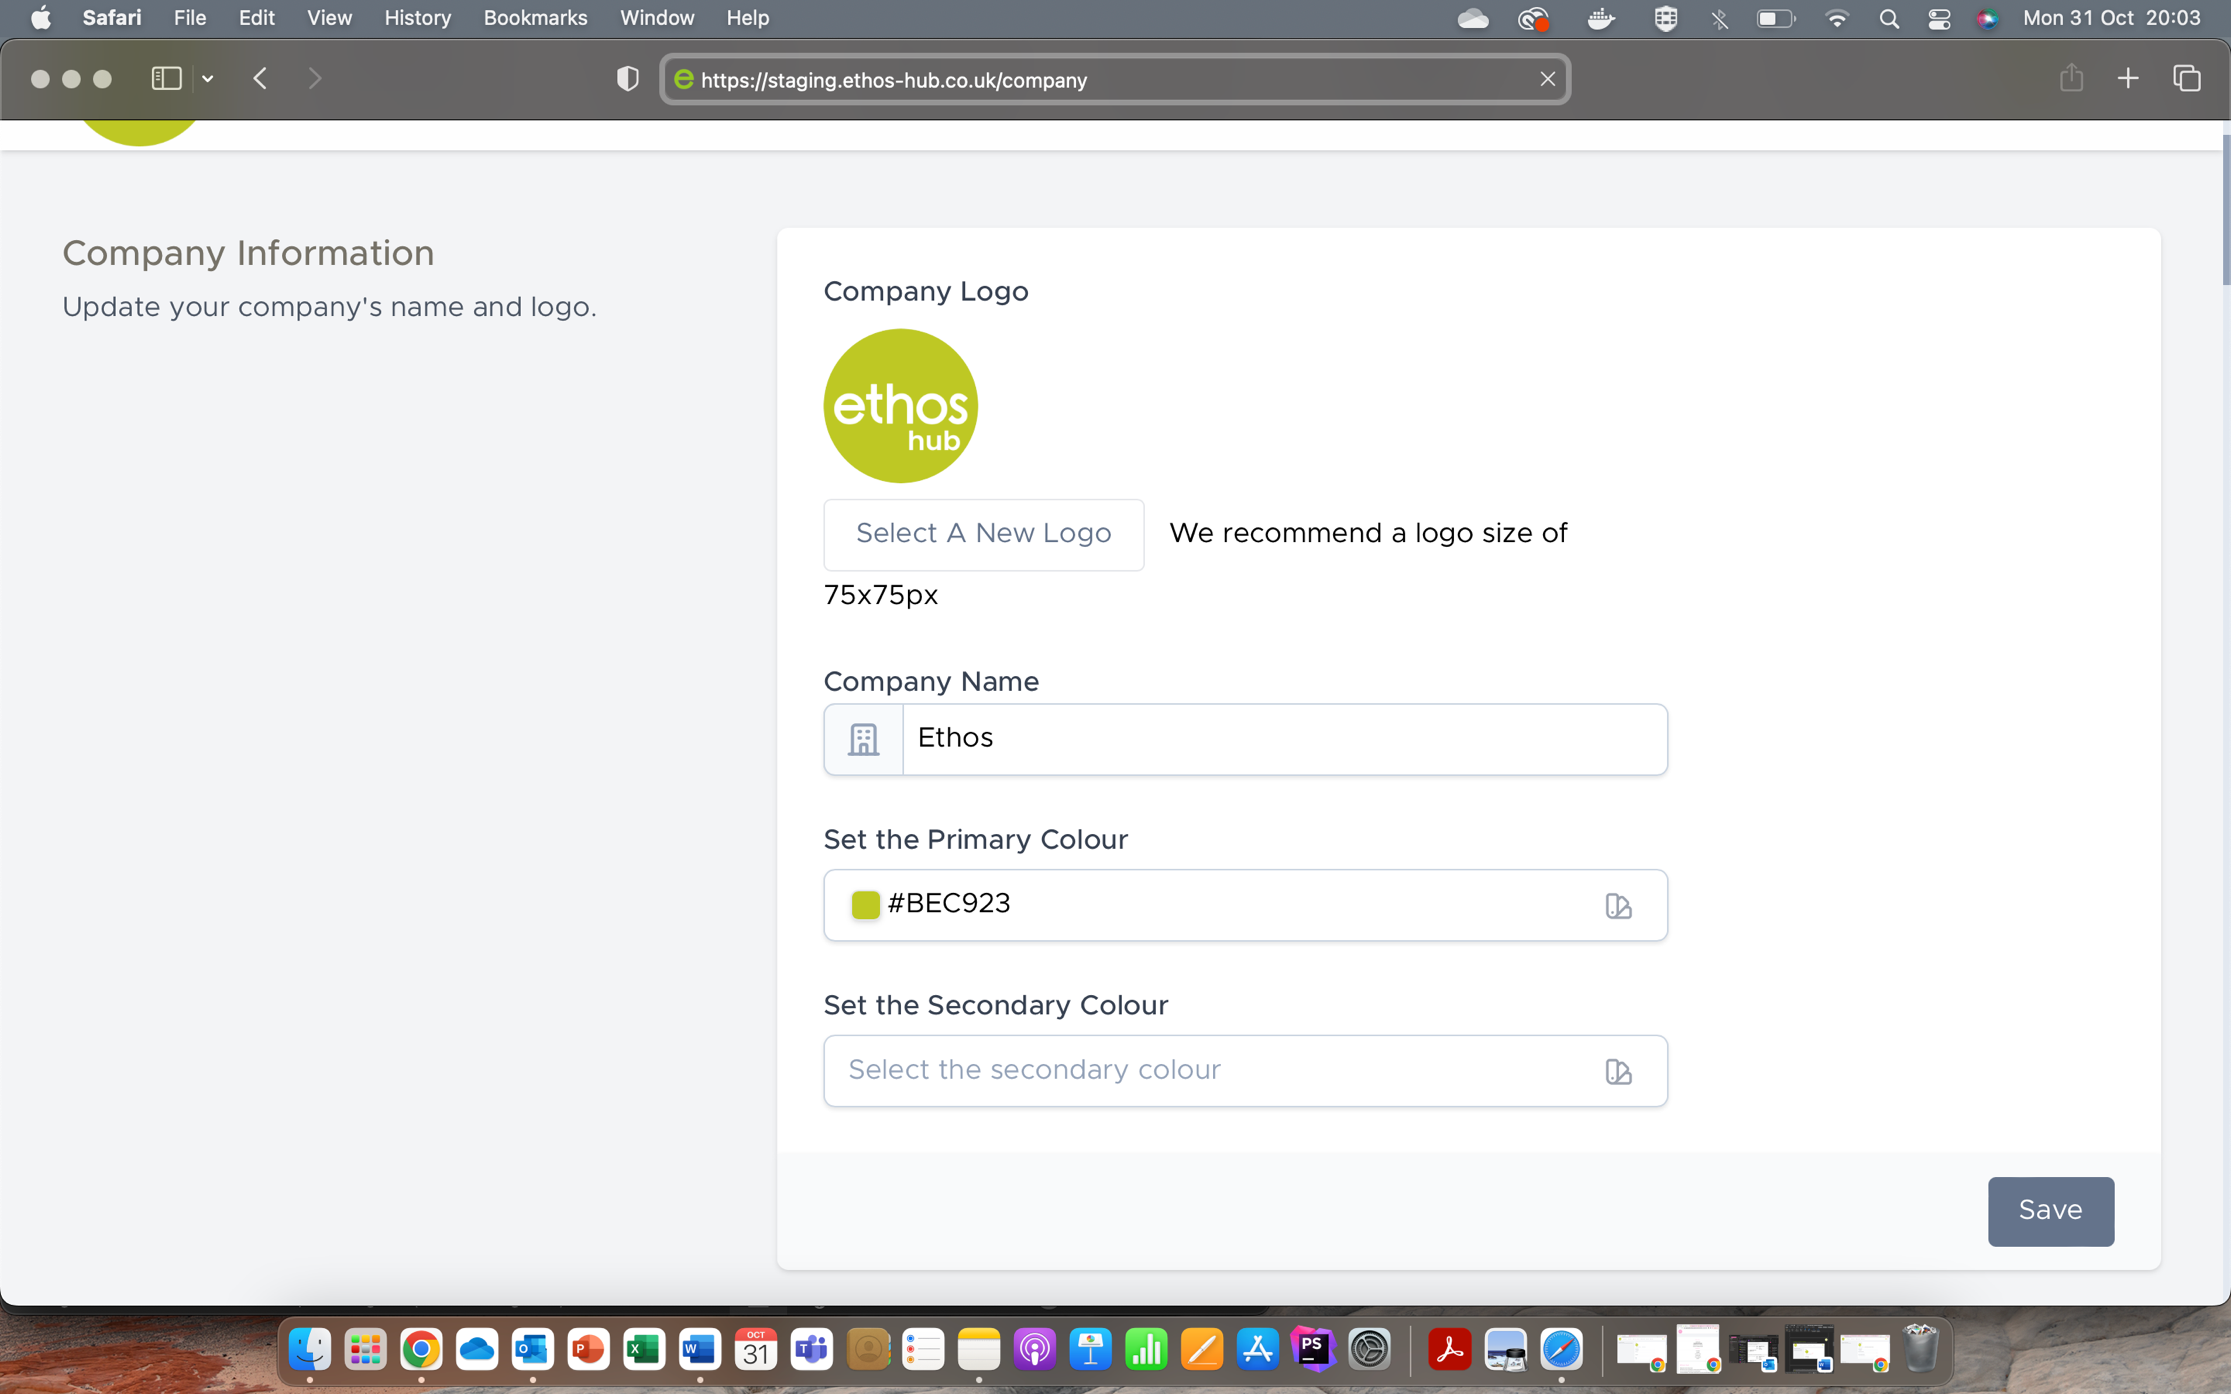
COMPANY INFORMATION
In the company information section, you can update the company information for your account.
CHANGING YOUR COMPANY LOGO
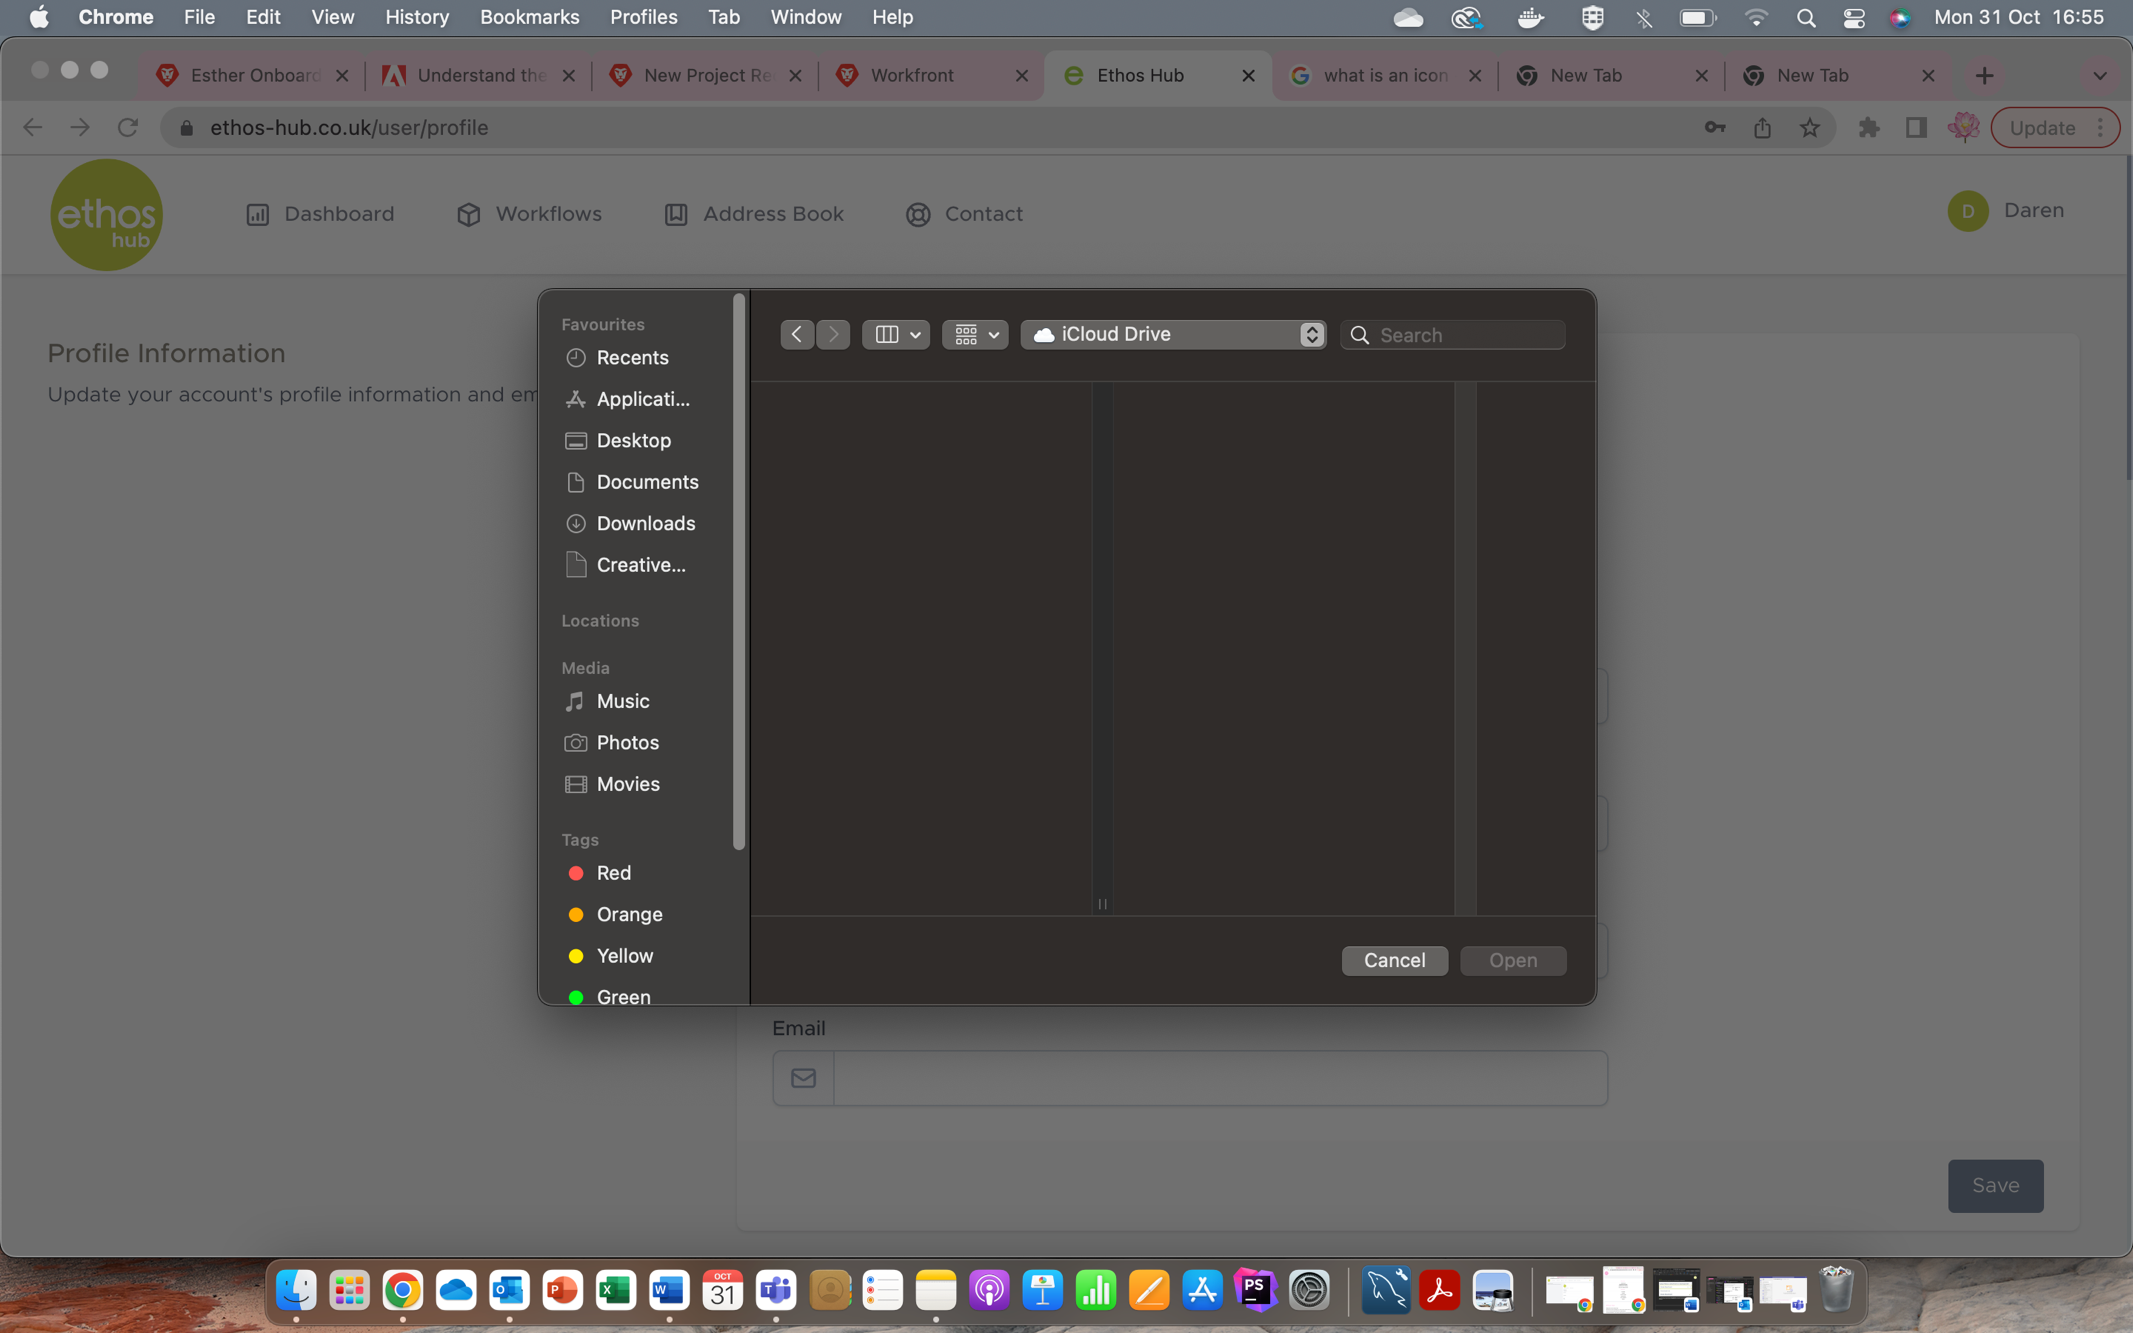
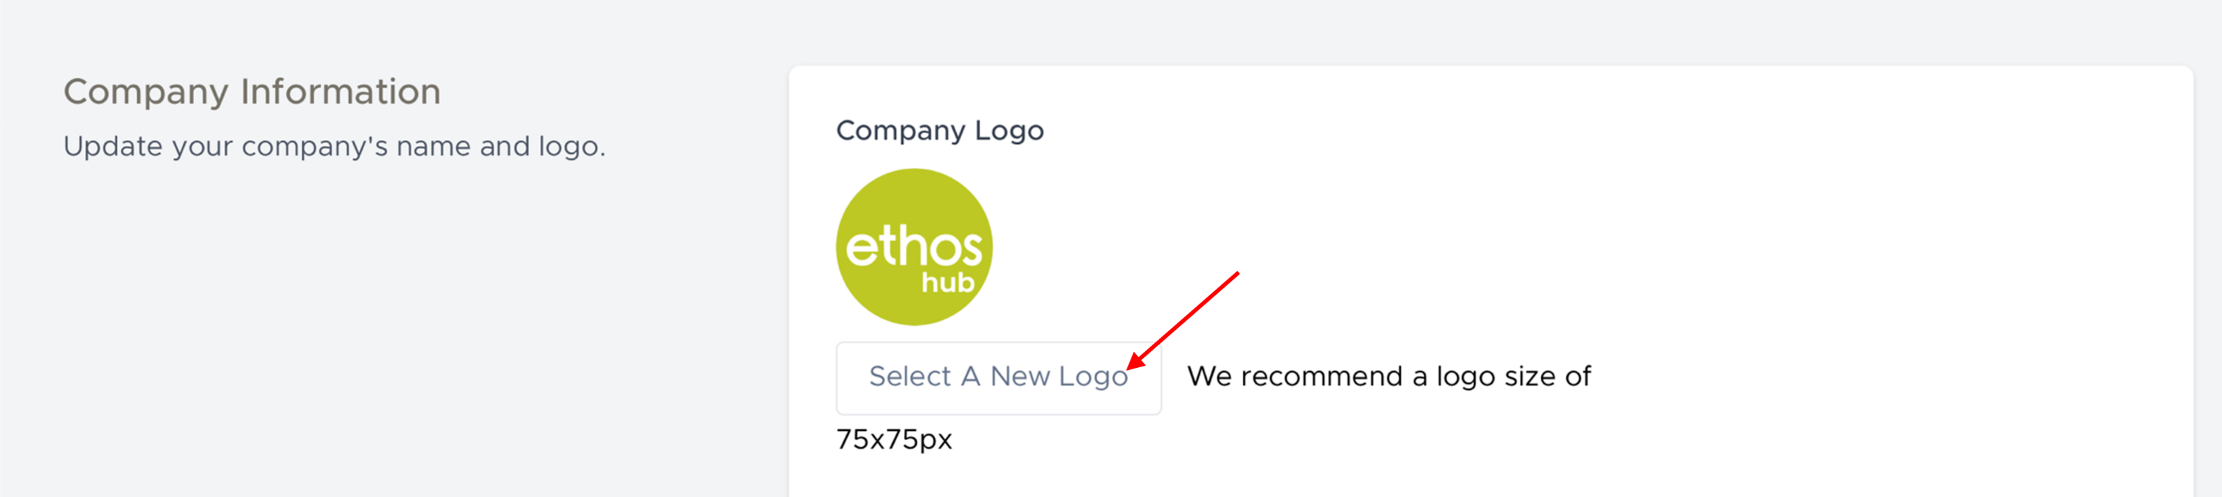 You can change your company logo by simply clicking on the button that reads “select a new logo”.
You will now be prompted with the following screen. Here you can upload an image as you desire.
UPDATING YOUR COMPANY NAME
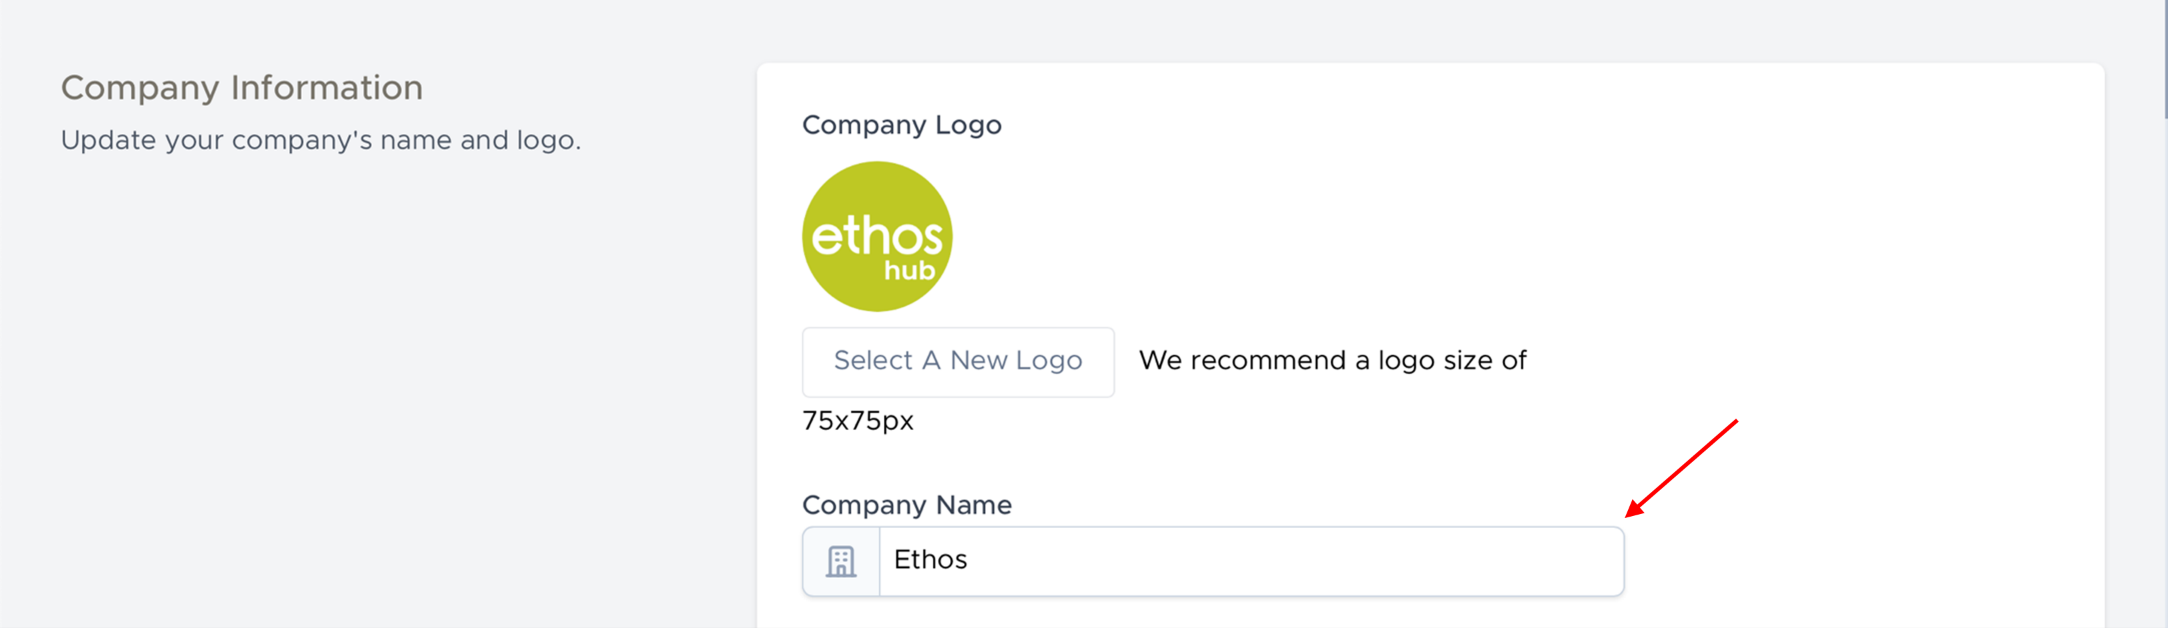 Updating your company information has been made very simple. Update required field by entering your information as shown below.
SETTING THE PRIMARY/SECONDARY COLOURS
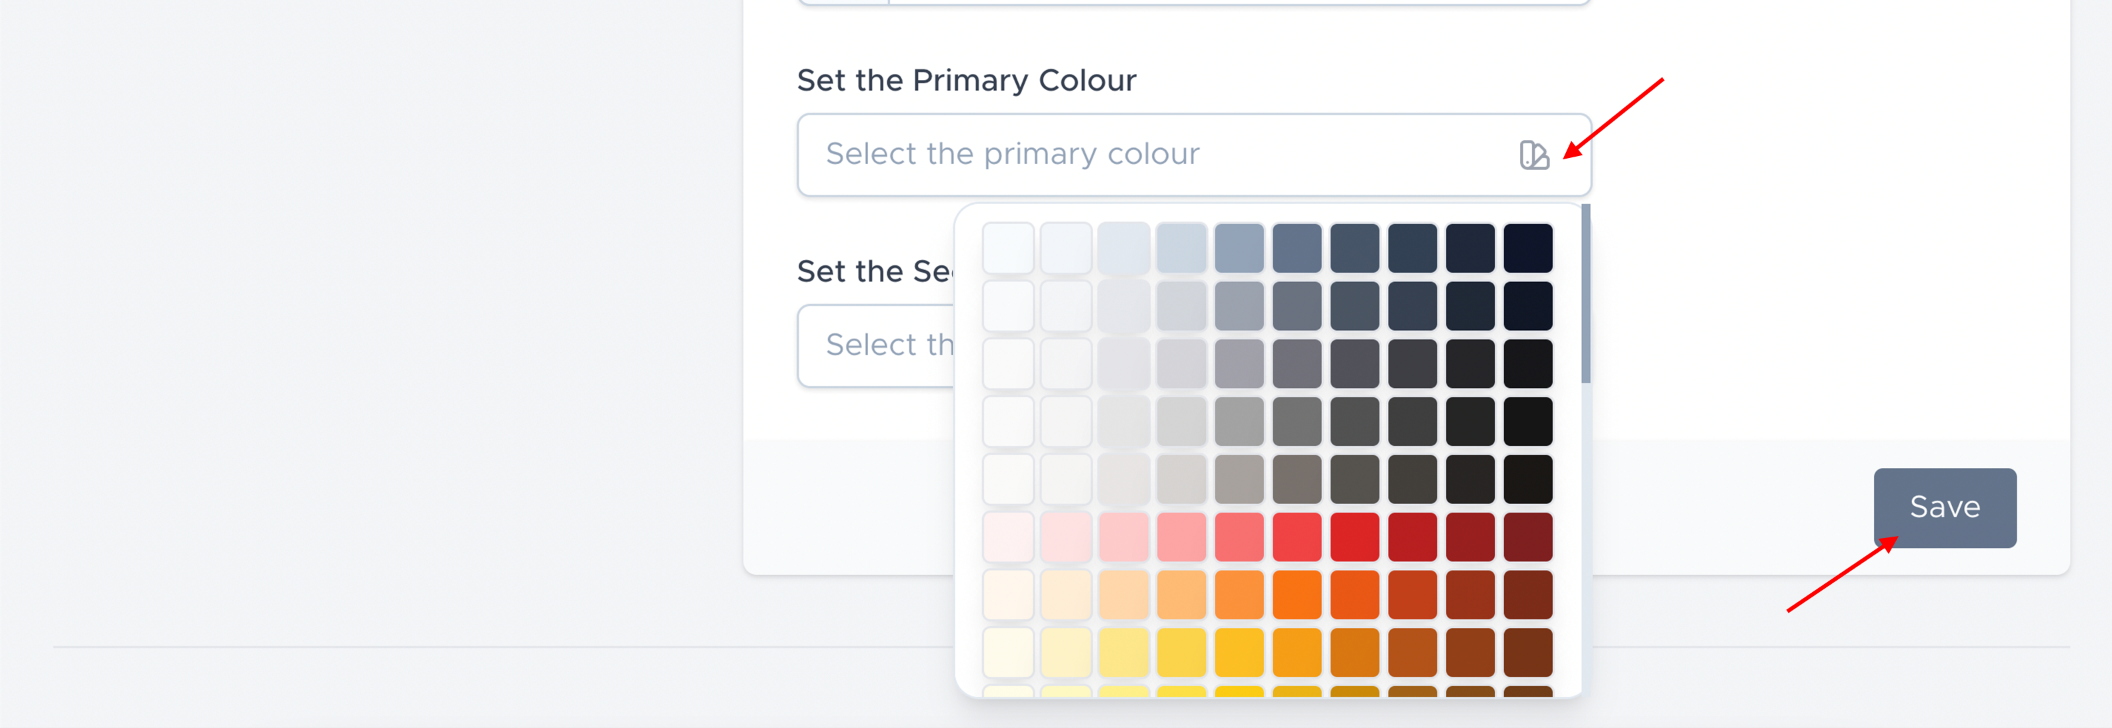
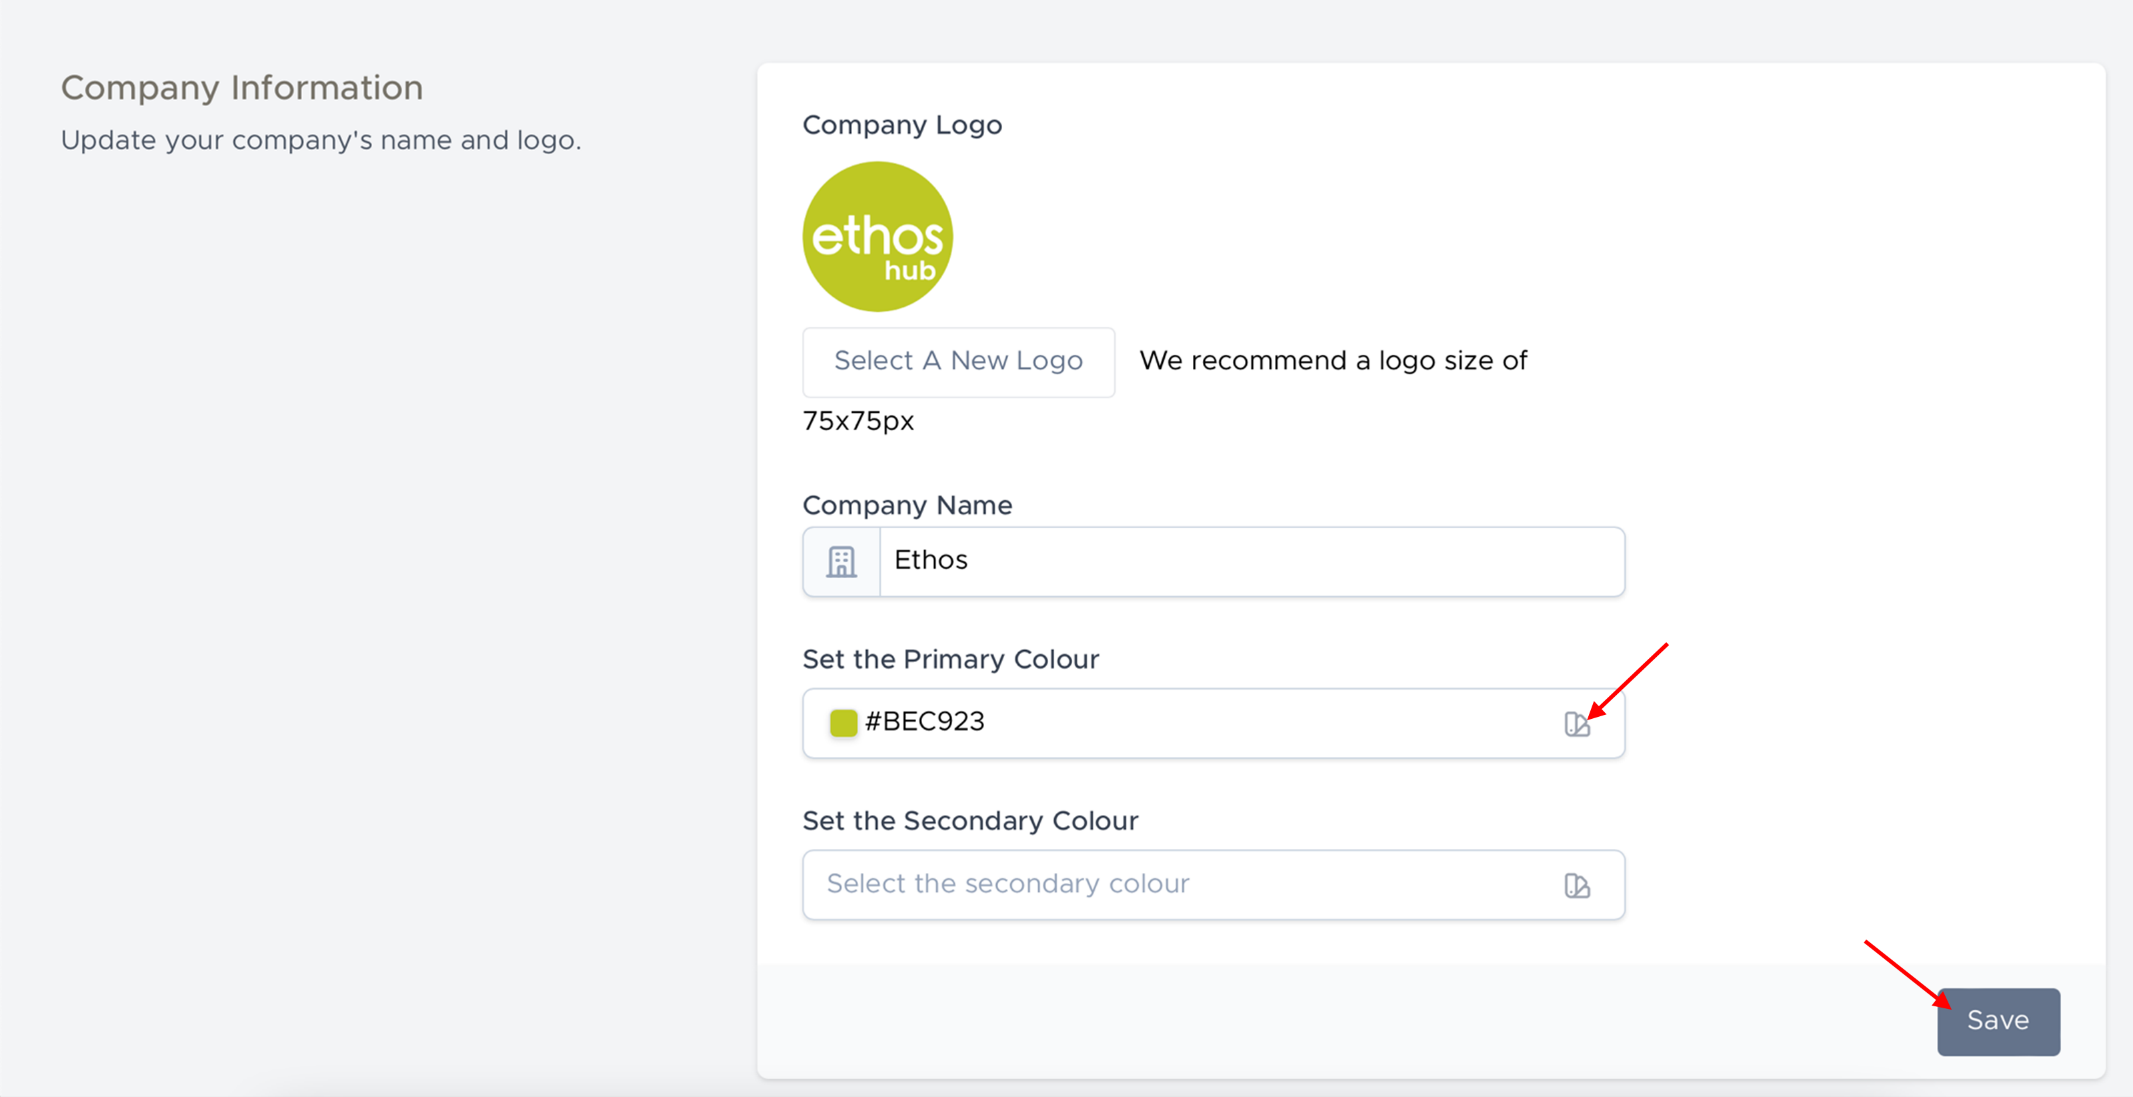 Add a touch of personalisation to your company profile by setting the primary and or secondary colours that you desire. Click on the colour pallet to select from a variety of colours as shown in the screenshots below. Once you are done, be sure to click on the save button to apply the changes.
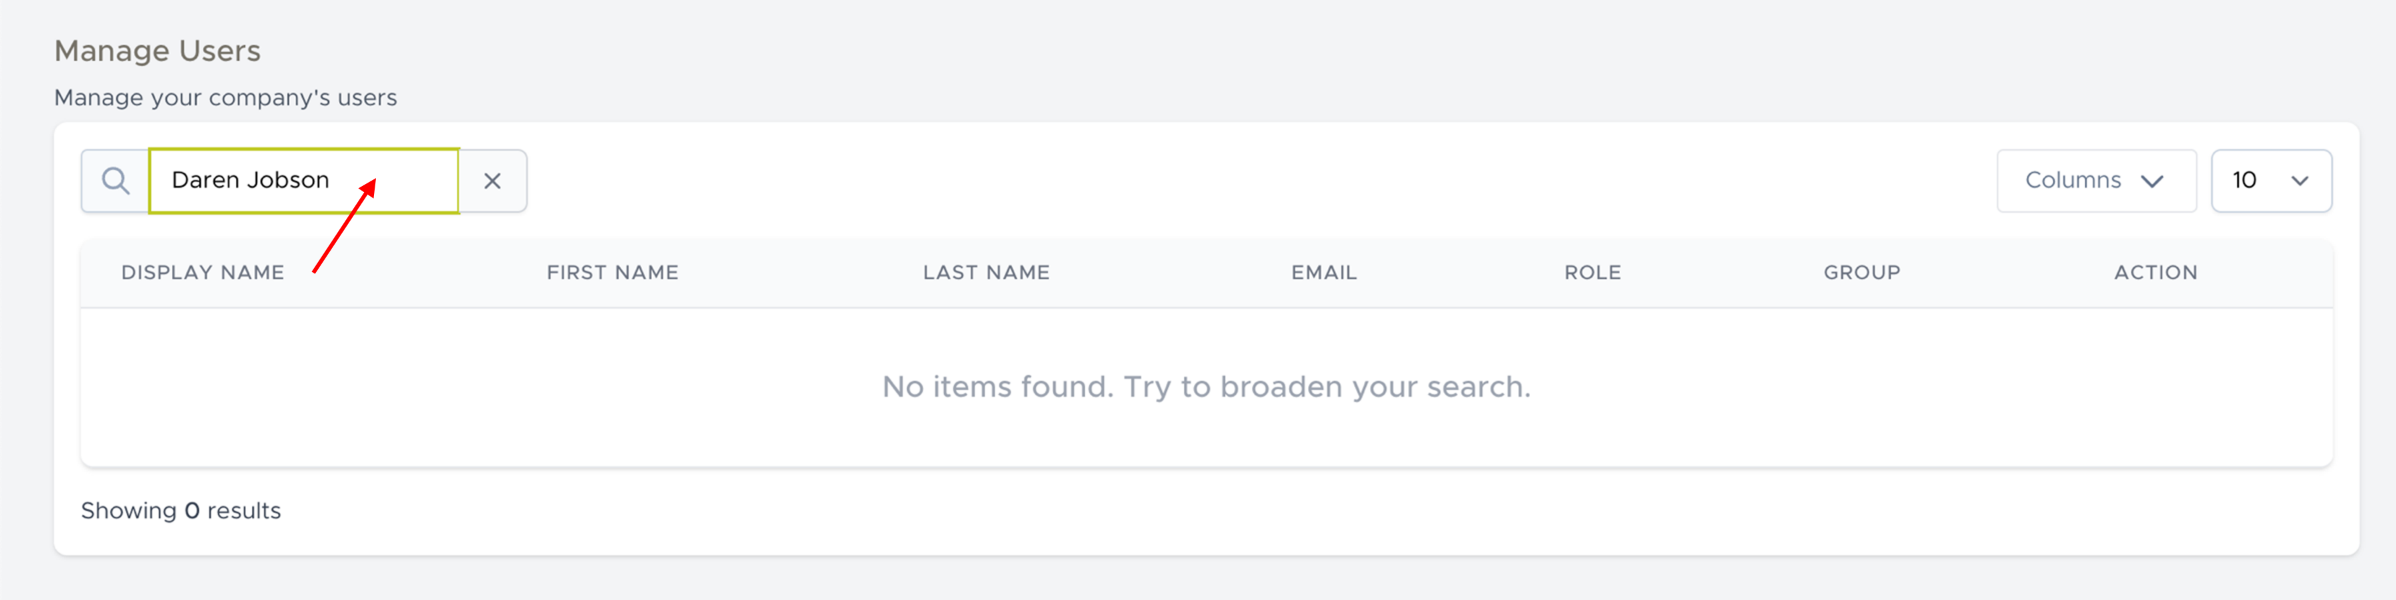
MANAGE USERS
In this section you can manage and search for your companies’ users.
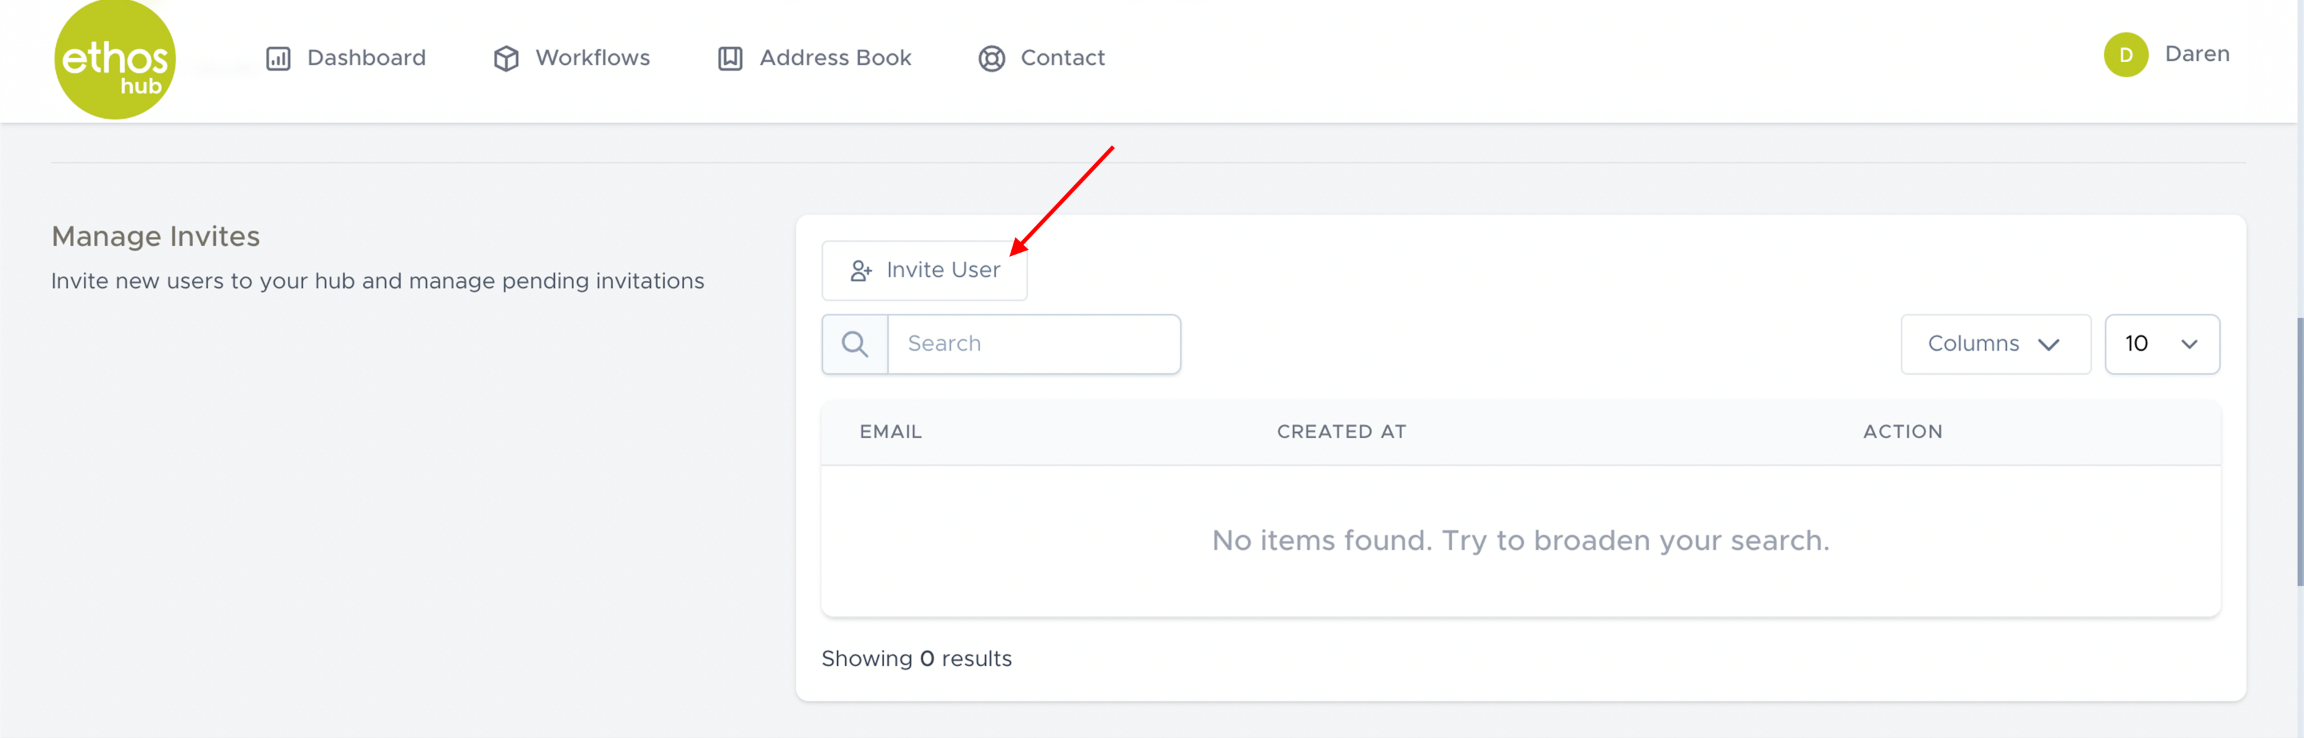
MANAGE INVITES
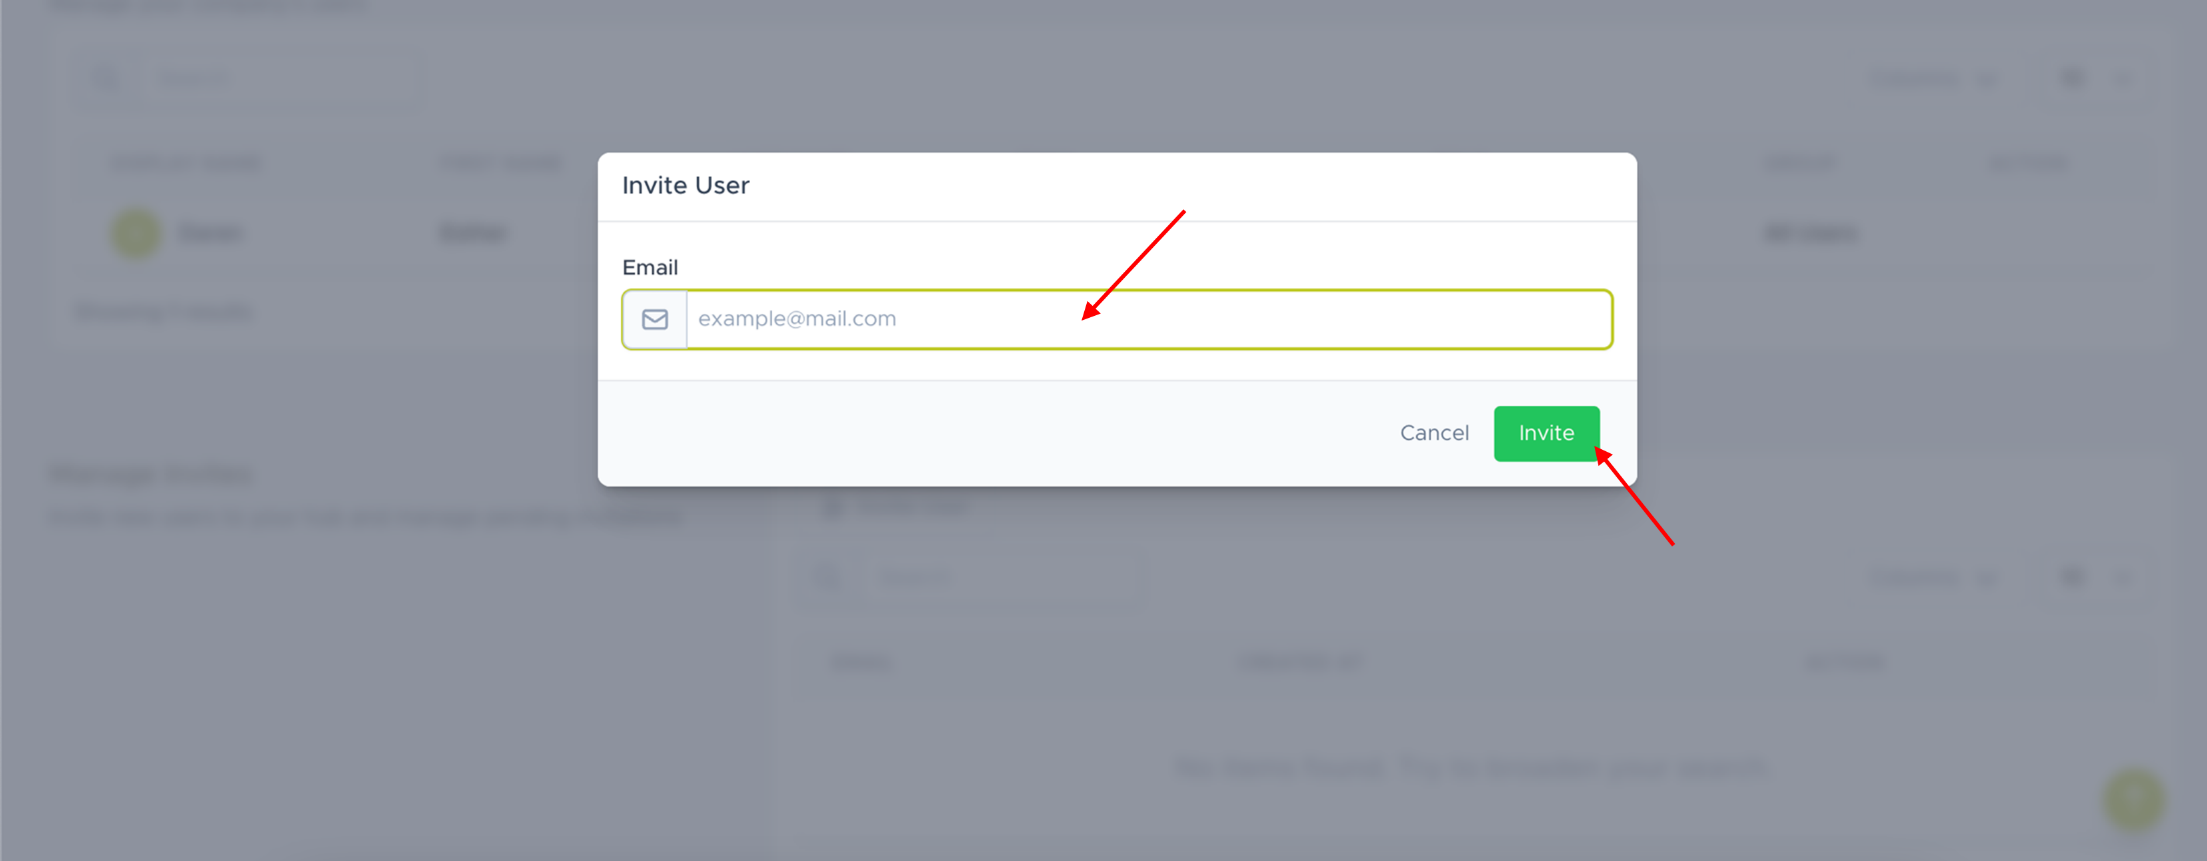
In this section you invite users to your hub and manage pending invitations.
You will now be prompted with this screen. Enter the email of the invitee and click on the “invite” button to send.
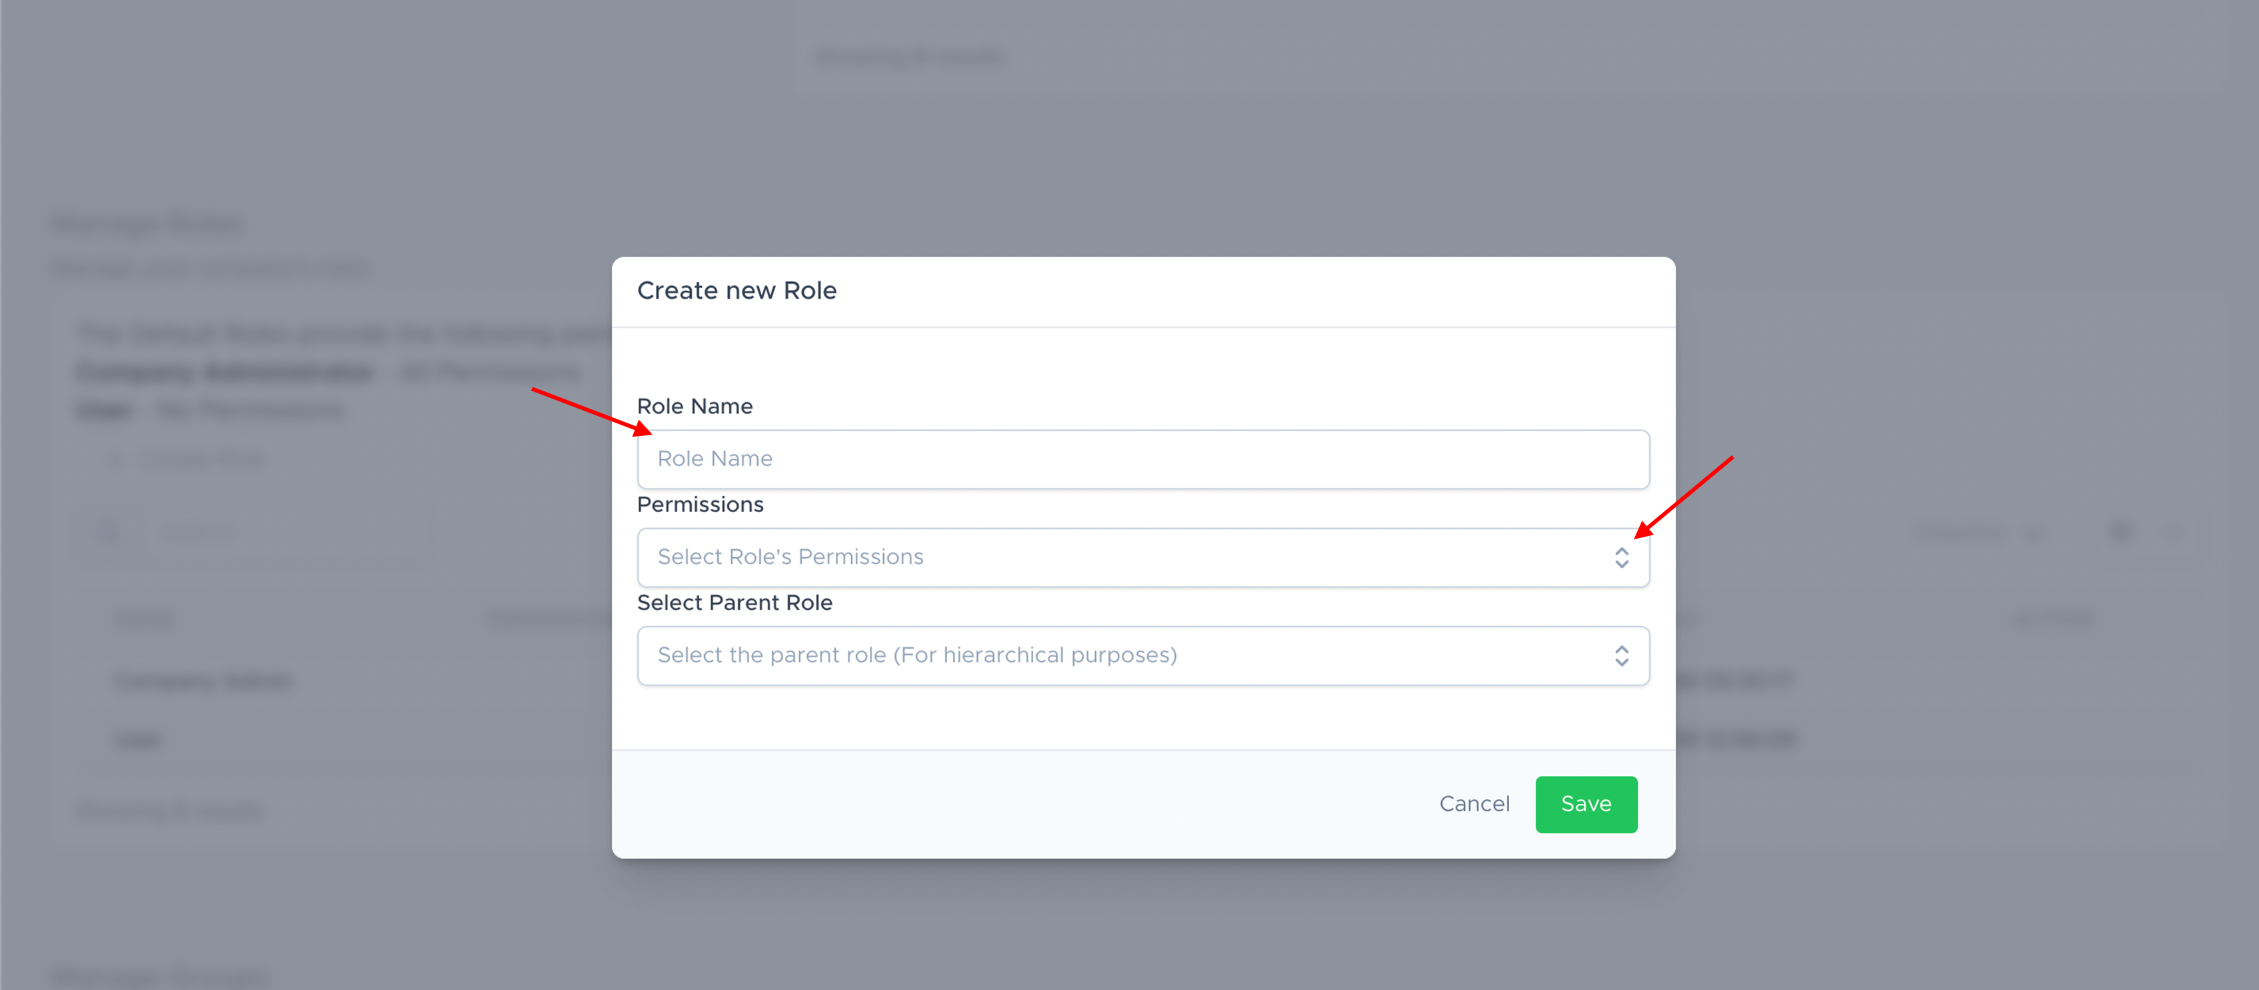
MANAGE ROLES
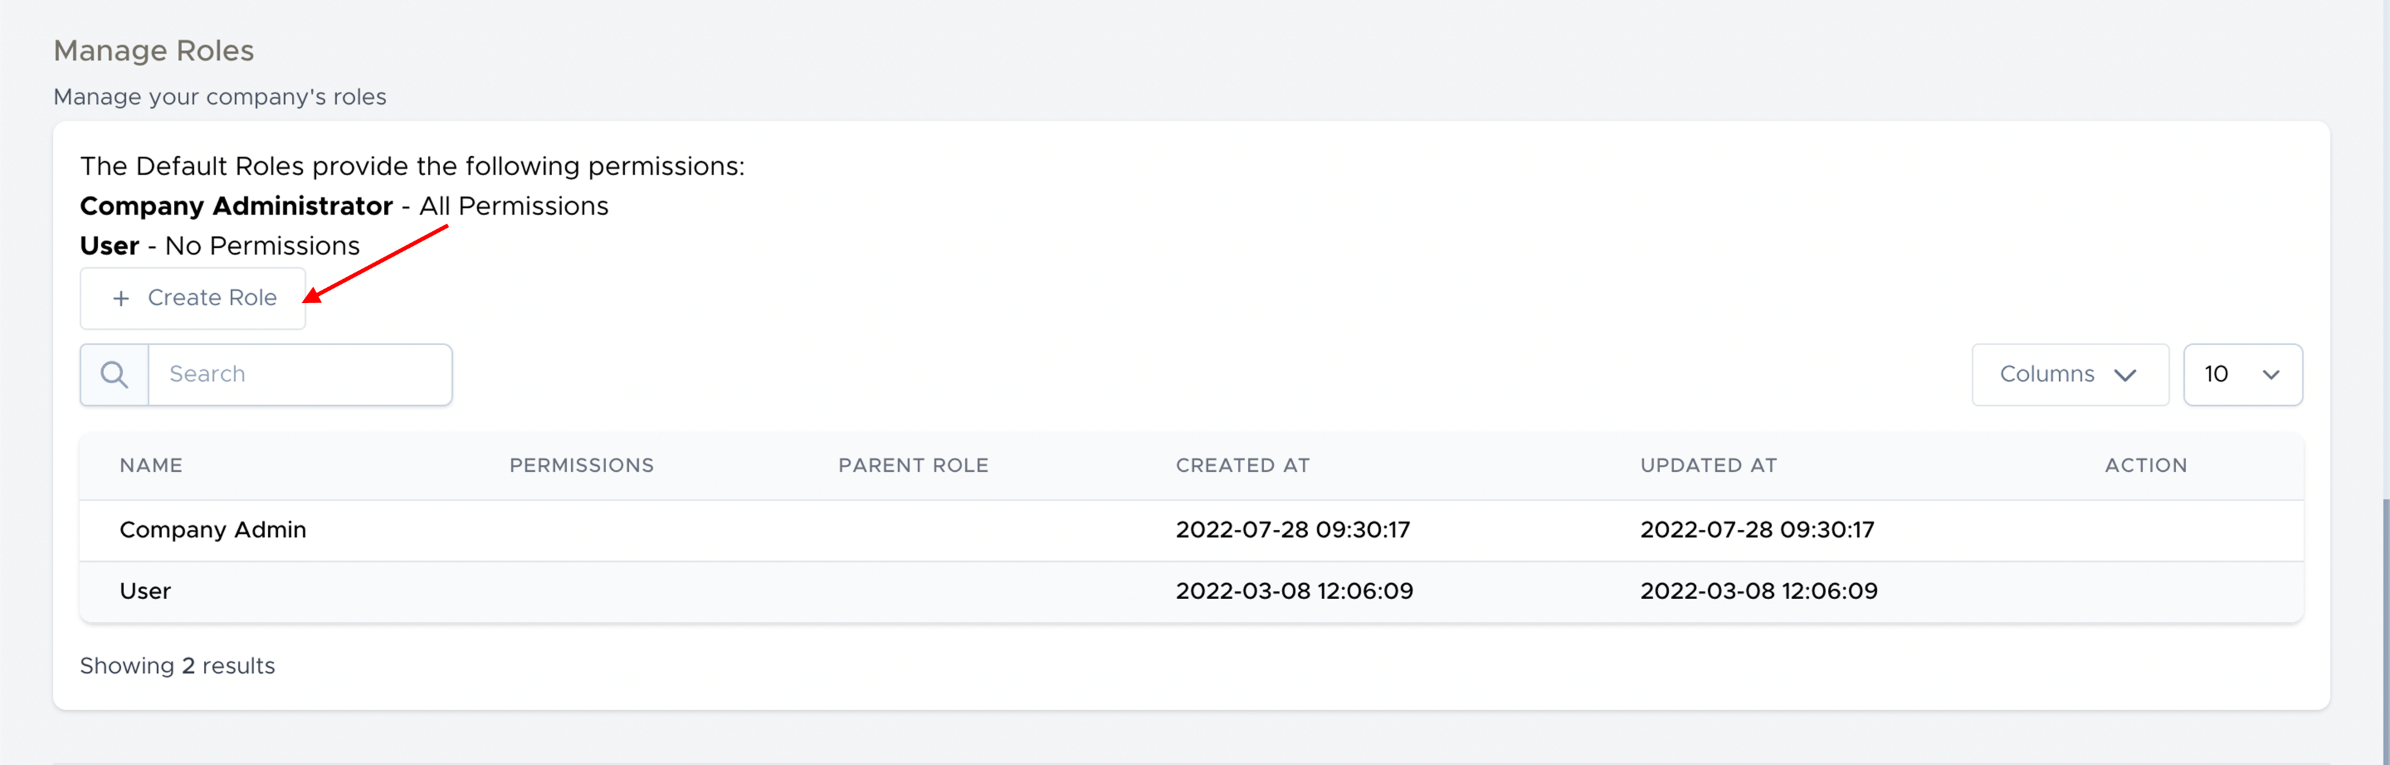 In this section you can manage and create the roles within your company.
You will now be prompted with this screen. Enter the role name and add their permissions.
MANAGE GROUPS
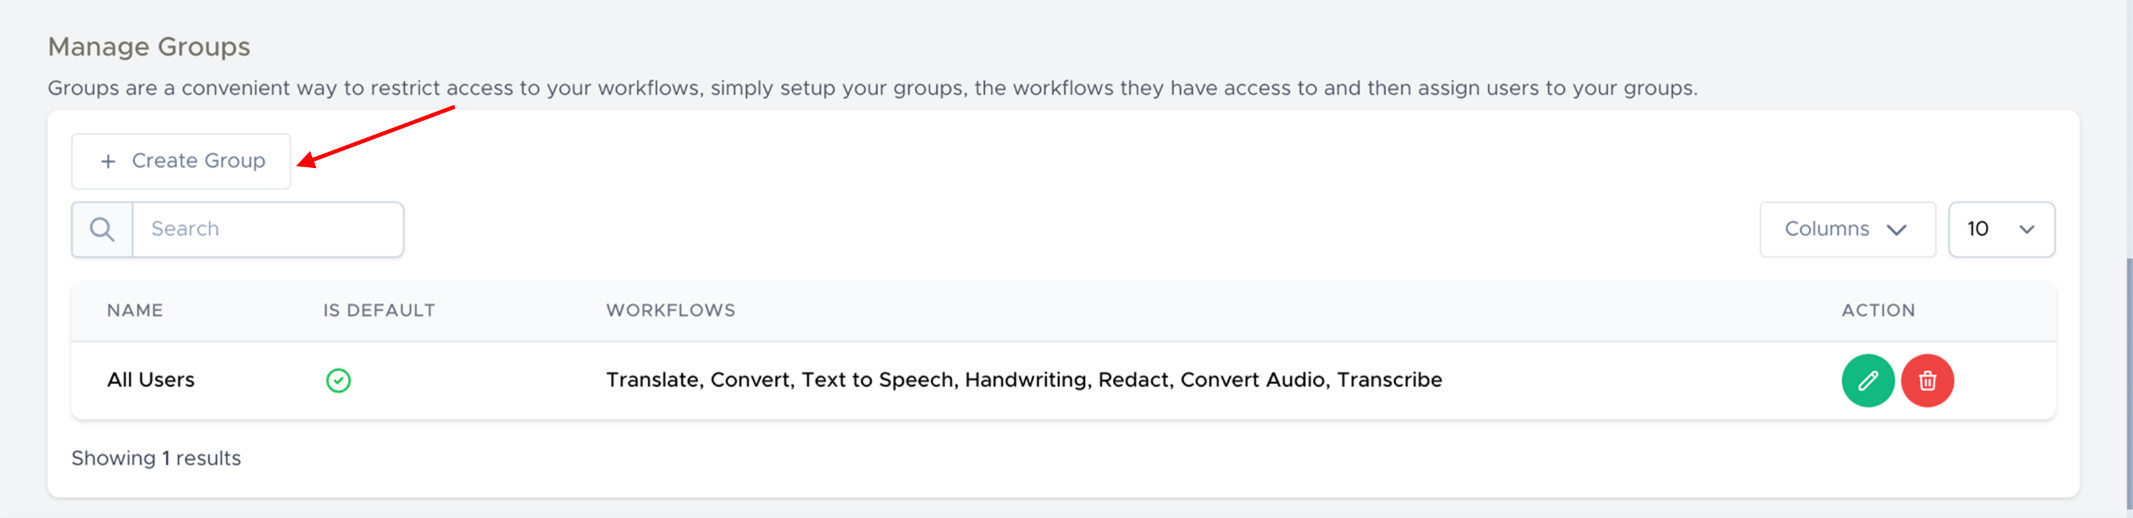 In this section you can create and manage groups to control who has access to your workflows.
Simply enter a group name and assign the workflows that they have access to from the dropdown menu.

COMPANY SETTINGS
 In this section you can manage your company wide settings.
DELETING YOUR COMPANY
If you decide that you need to delete your company, this is made easy by simply clicking on the “delete” button.

Was this article helpful?
That’s Great!
Thank you for your feedback
Sorry! We couldn't be helpful
Thank you for your feedback
Feedback sent
We appreciate your effort and will try to fix the article