STEP 1 - Login Page
 Enter your login email and password.
STEP 2 - Workflows
 Once you are logged in, you will be presented with the following page.
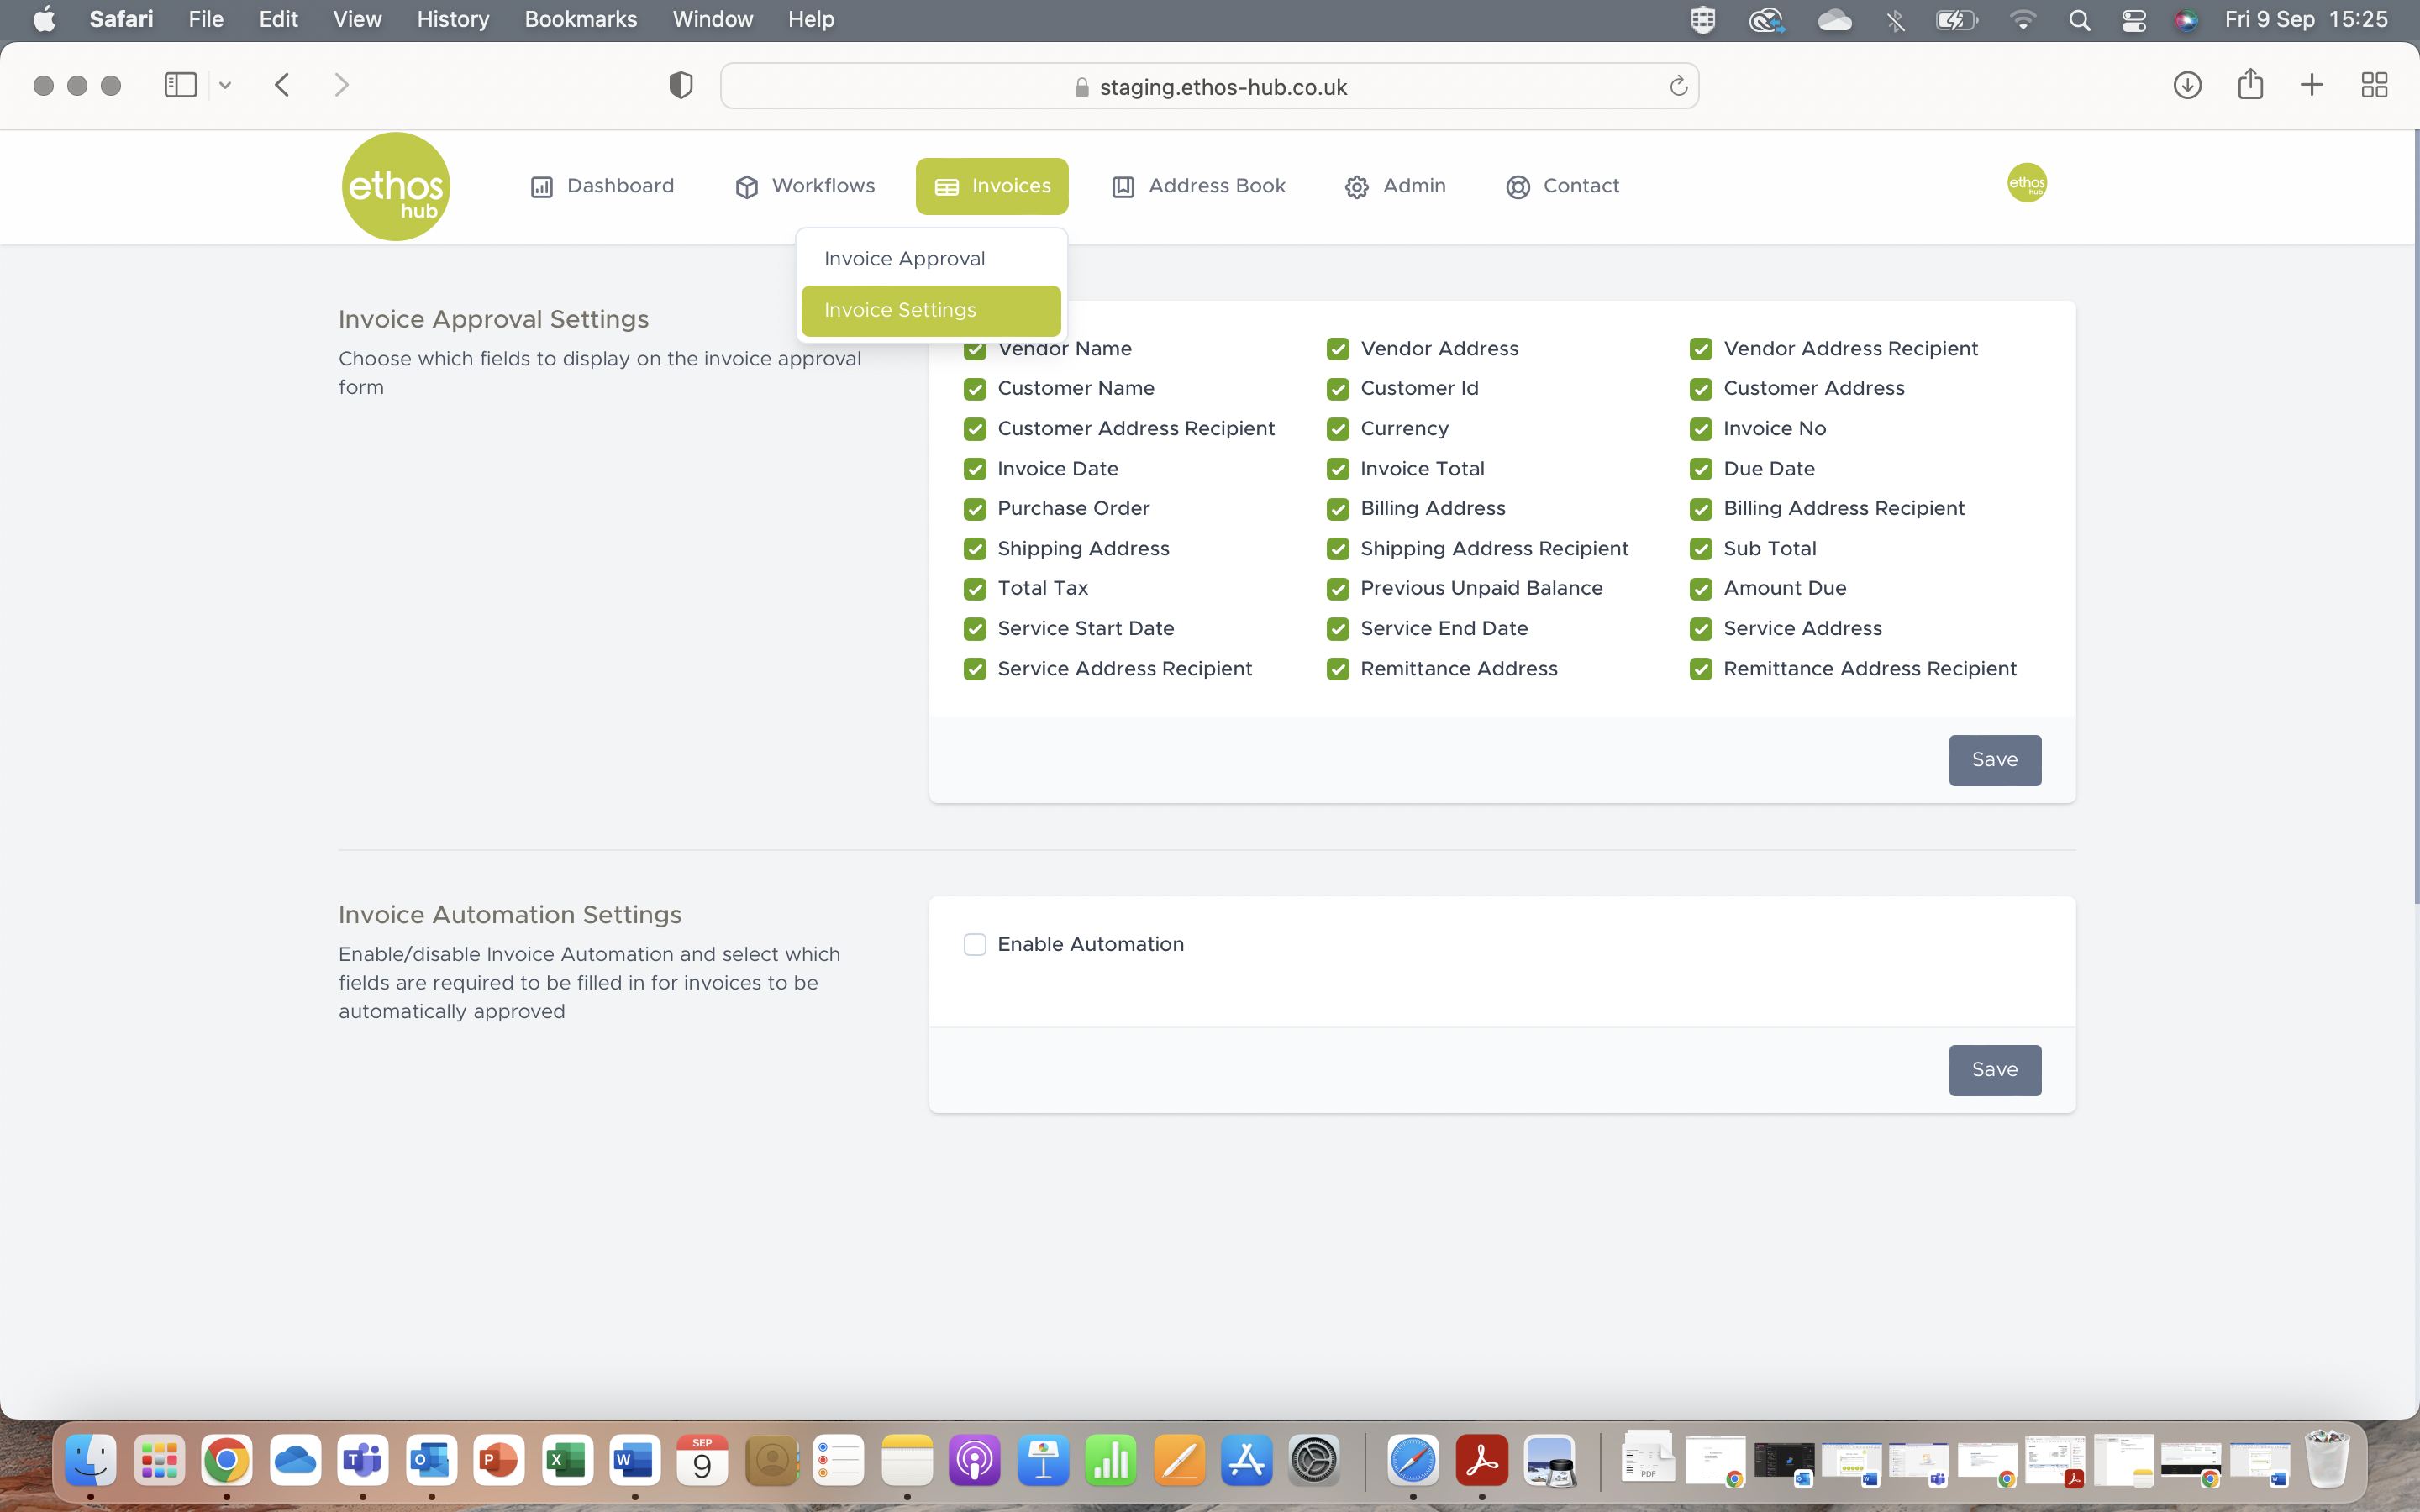
Note: If you are not presented with the page shown in the step above, please select the Workflows tab displayed in the top taskbar as shown below.

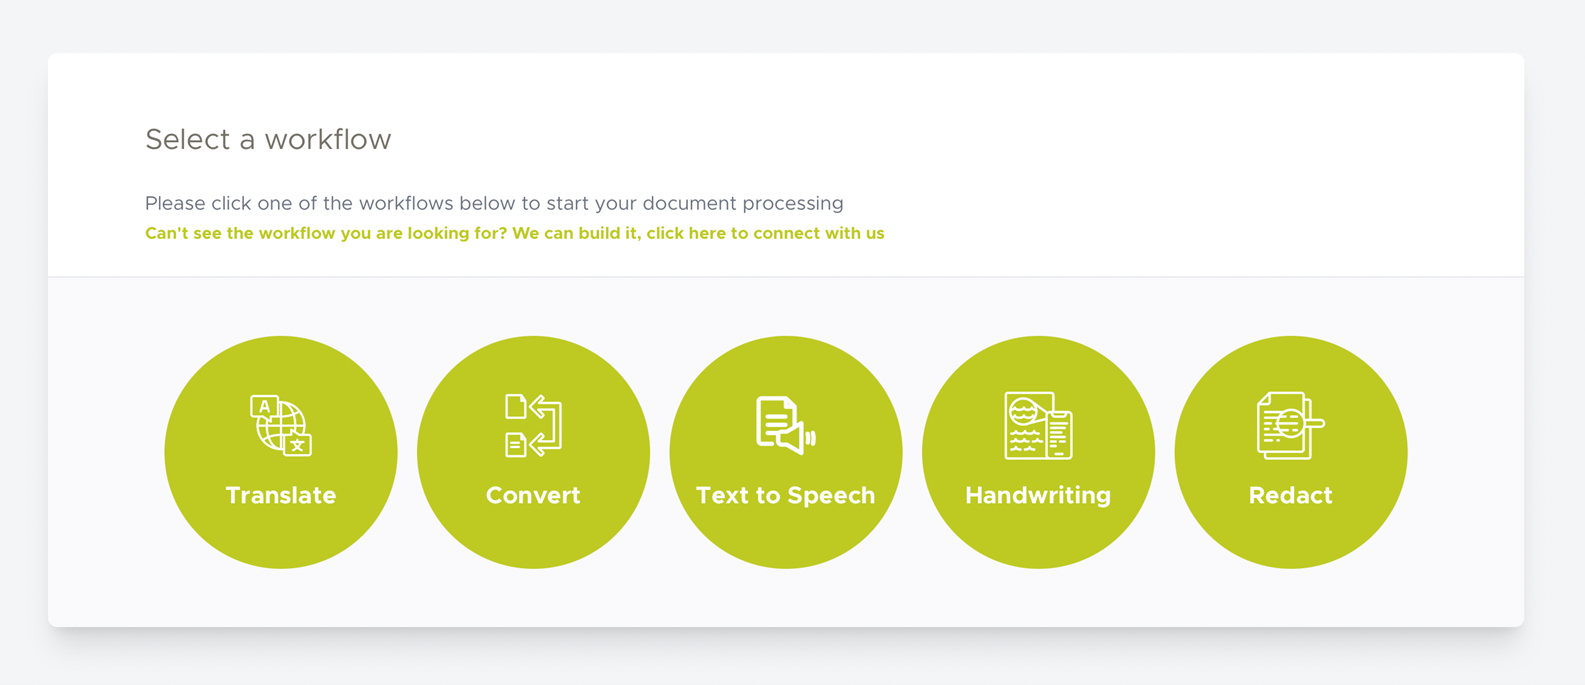
STEP 3 - Select Workflow
At this stage, you will be given the option to select from one of the many workflows that we have available. Please click on the Invoice workflow.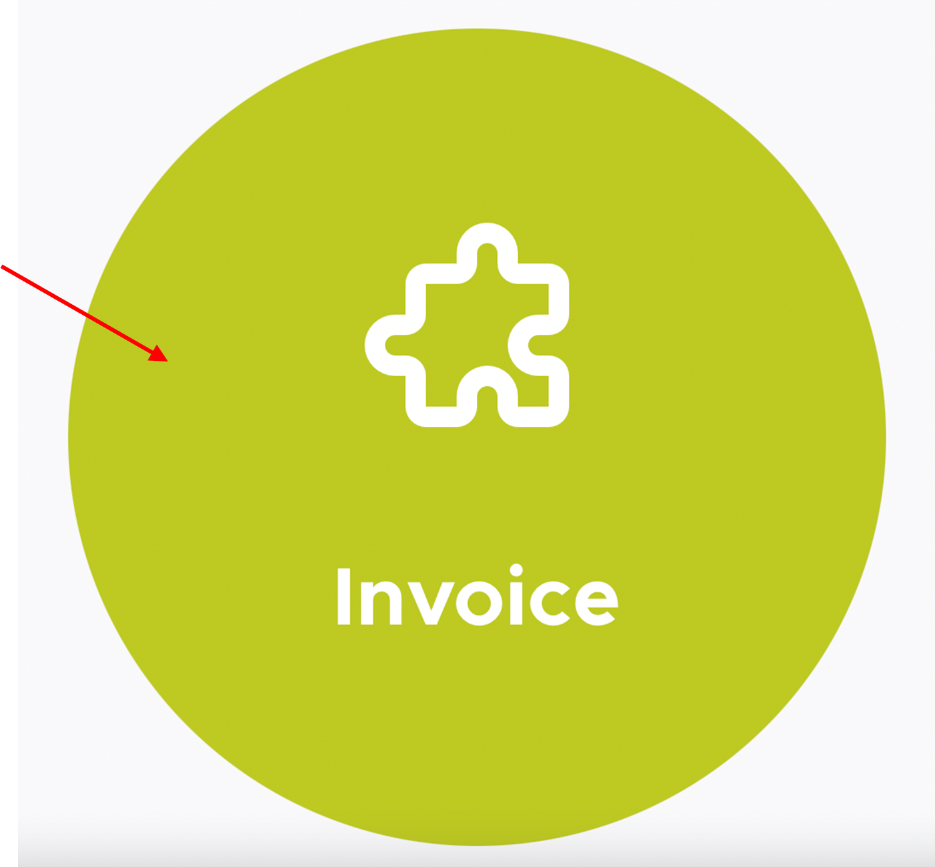
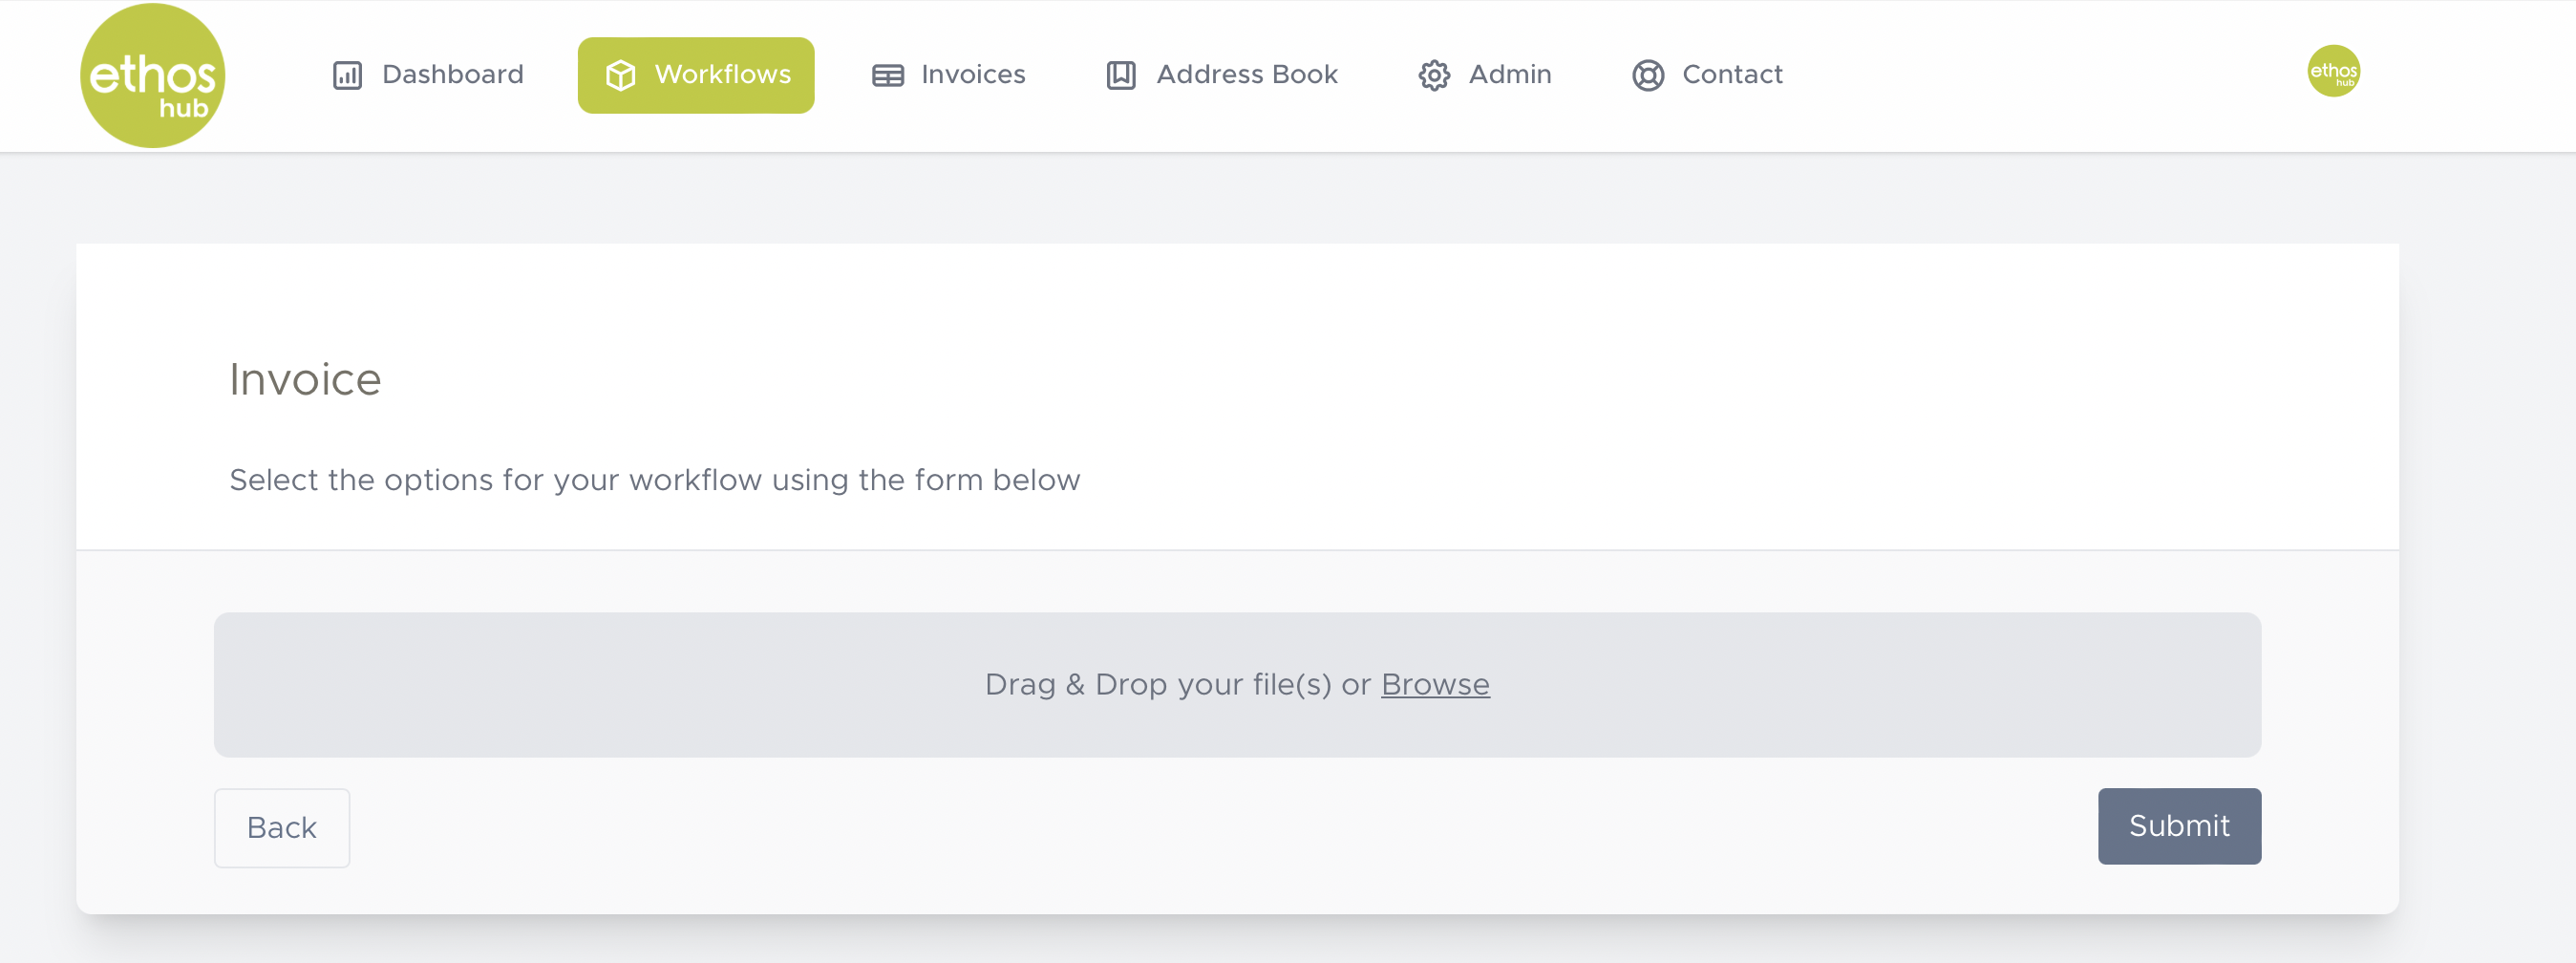
STEP 4 - Upload Requirement
You will now be presented with this screen.
Note: Please ensure that the invoice that you are uploading is in a PDF format.
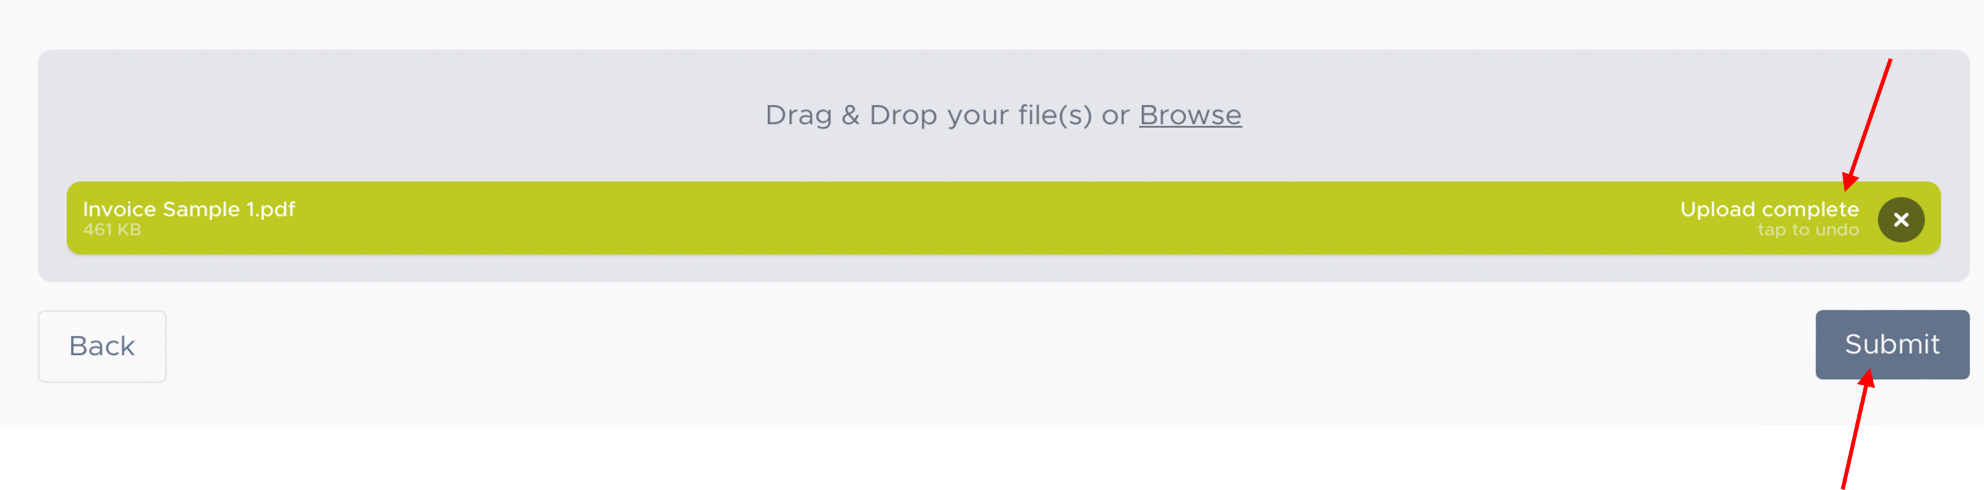
STEP 5 - Upload
Click on the Drag & Drop your file(s) or browse section to upload your invoice.

STEP 6 - Submit
Once your file has finished uploading, click on the submit button.
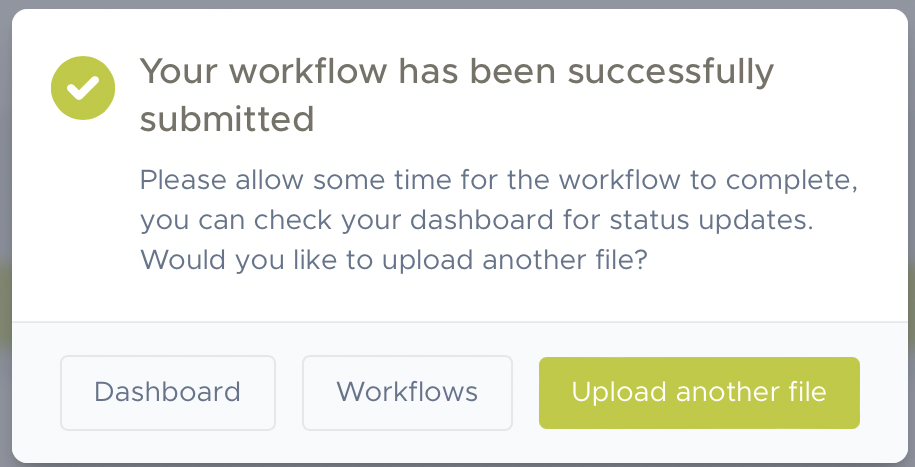
Note: Once you have submitted you file, you will be presented with a pop-up message which reads the following:
STEP 7 - Invoice Approval
If you are happy with your invoice settings, click back on the top taskbar onto the Invoice Approval tab. For information on how to adjust your approval settings, please read the separate Invoice Settings Guide.
STEP 8 - invoice Management Features
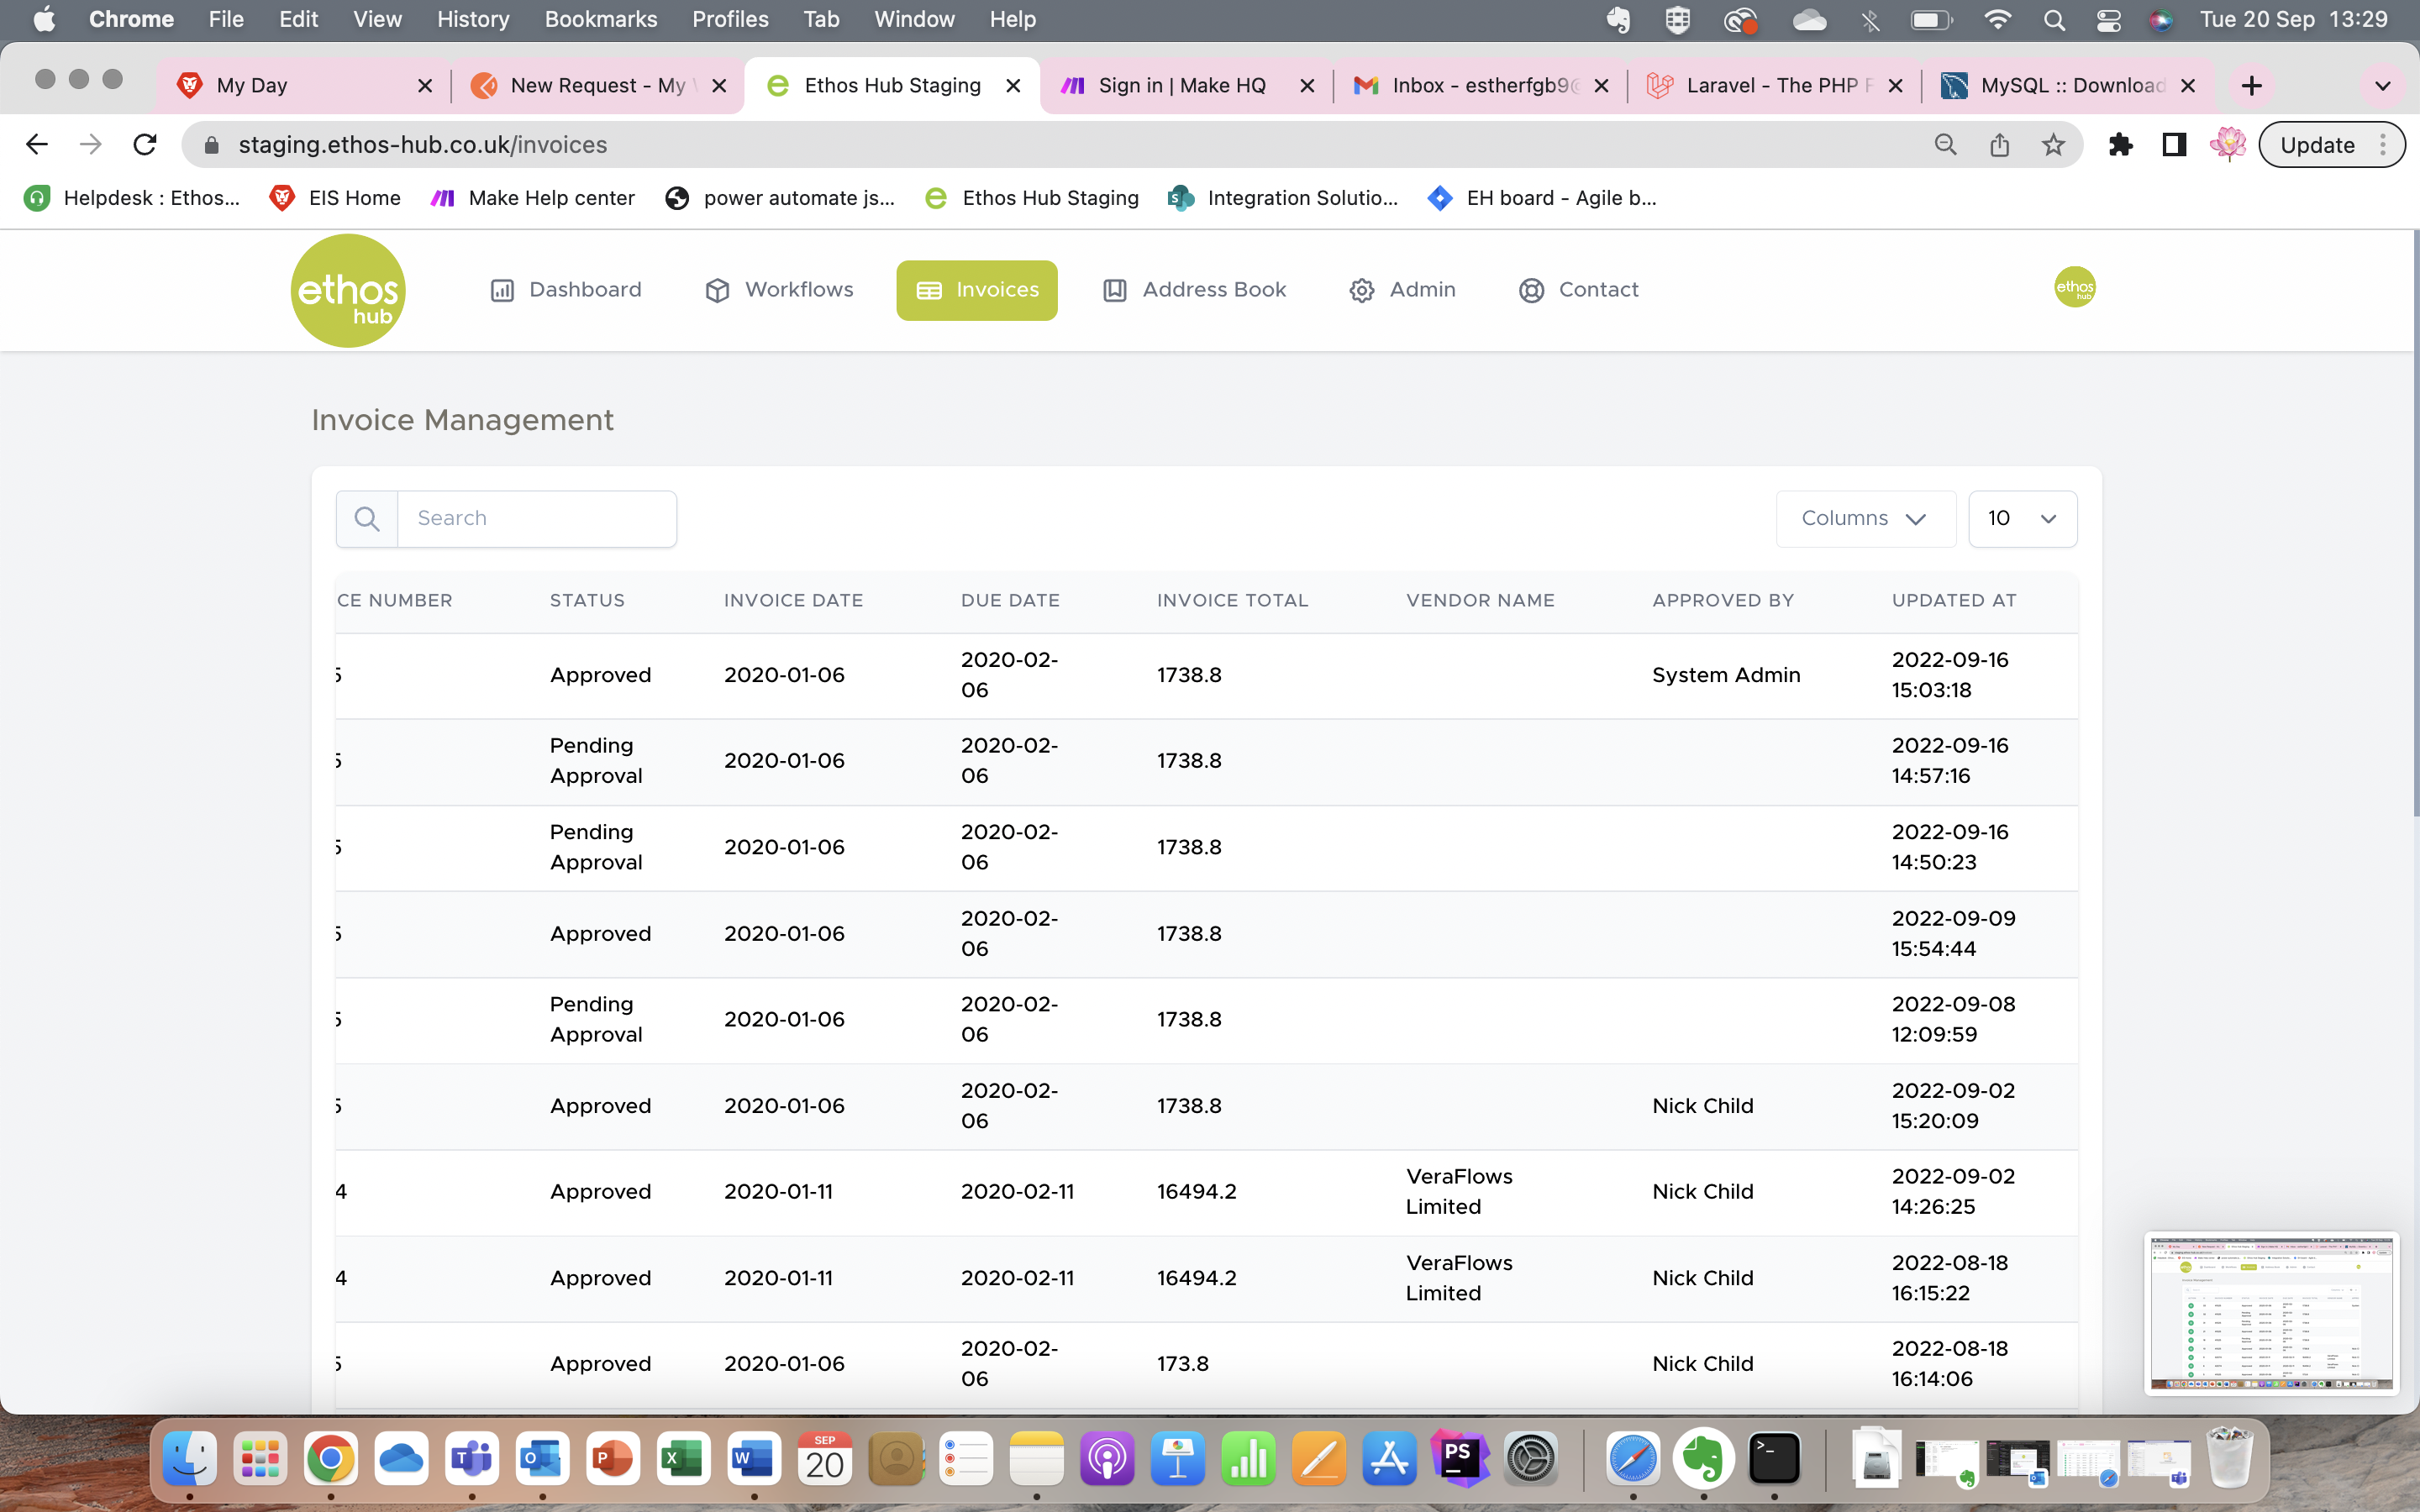
You will now be presented with the Invoice management page. On this page you can see the details of the invoices that you have uploaded.
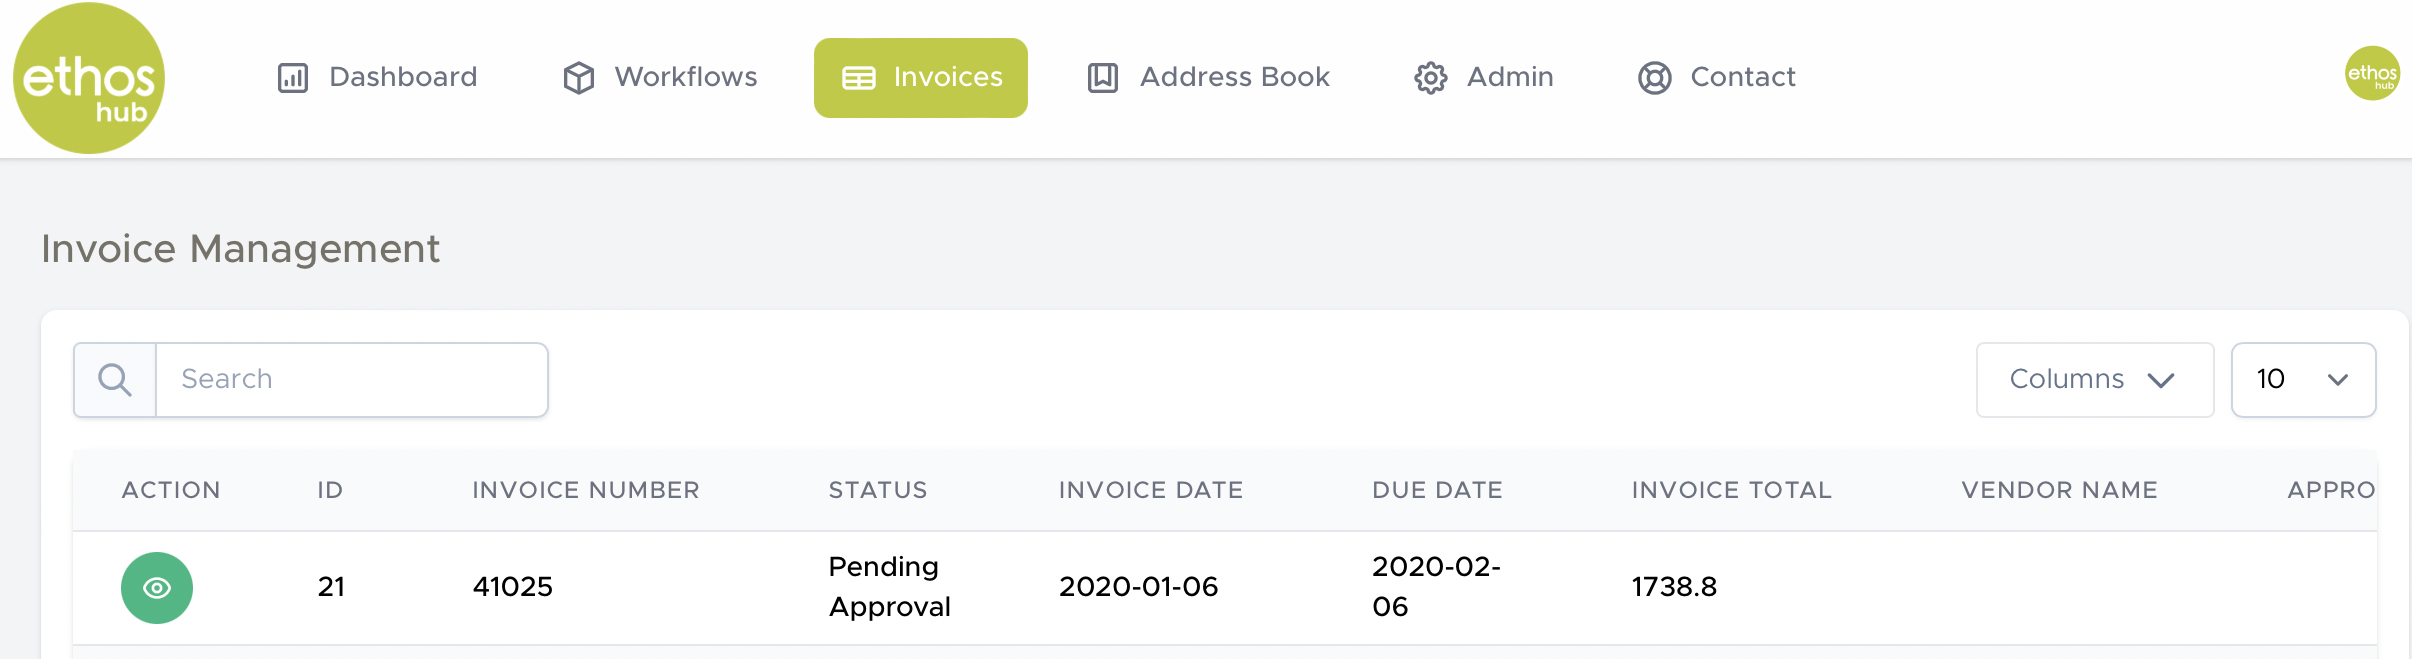
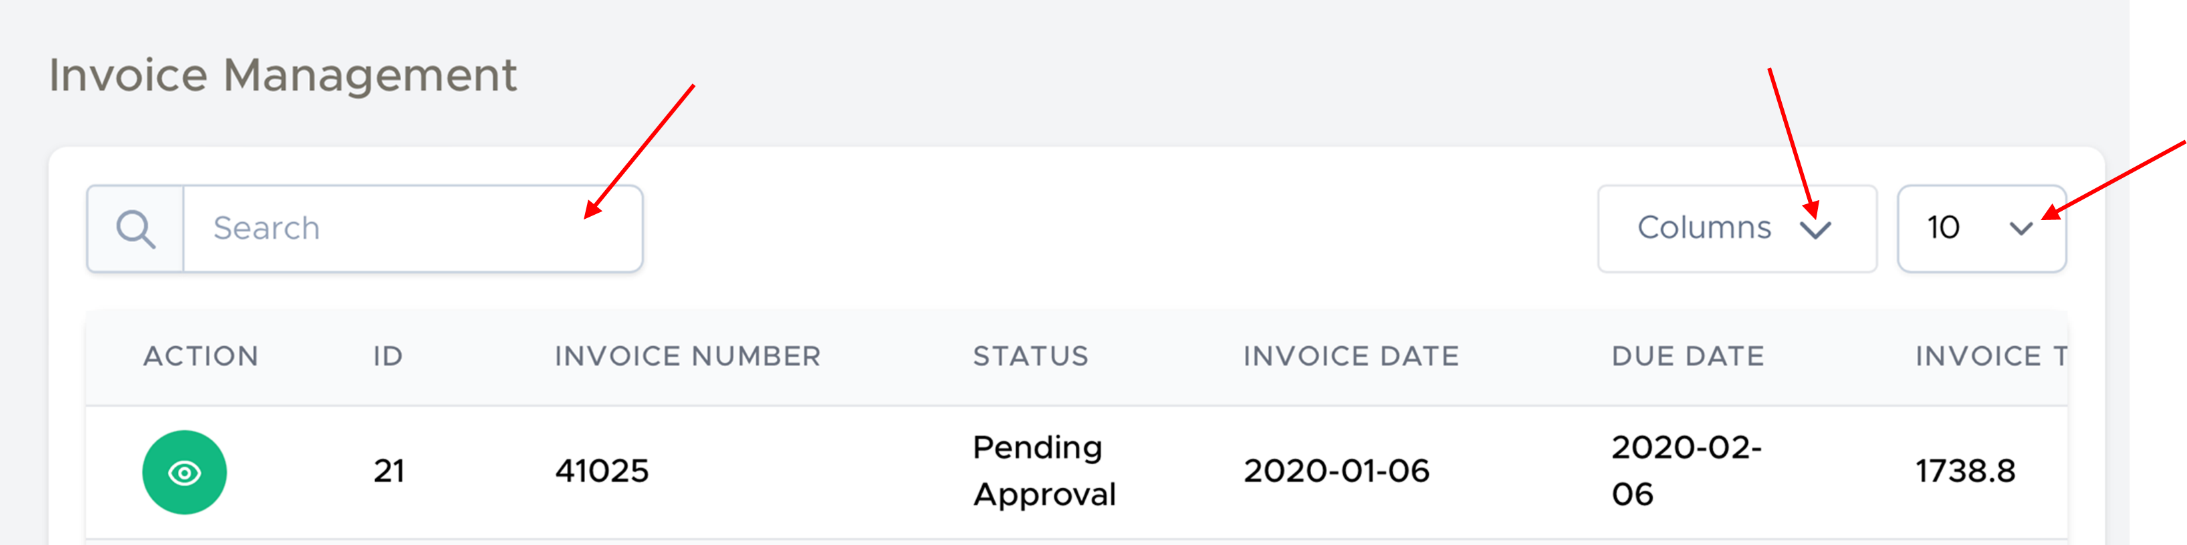
You can use the search box to manually locate your invoices, you can also select the columns in your invoice that you wish to display as well as the number of invoices you wish to see at a time.
STEP 9 - Invoice Action
Click on the ‘eye’ icon under action to view your invoice.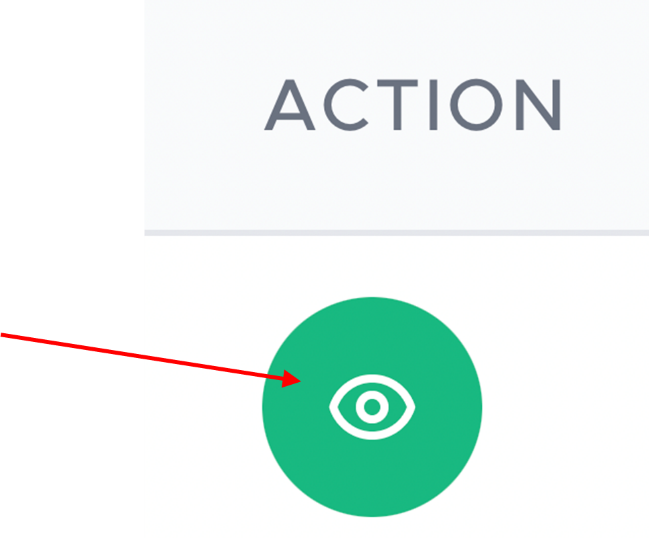
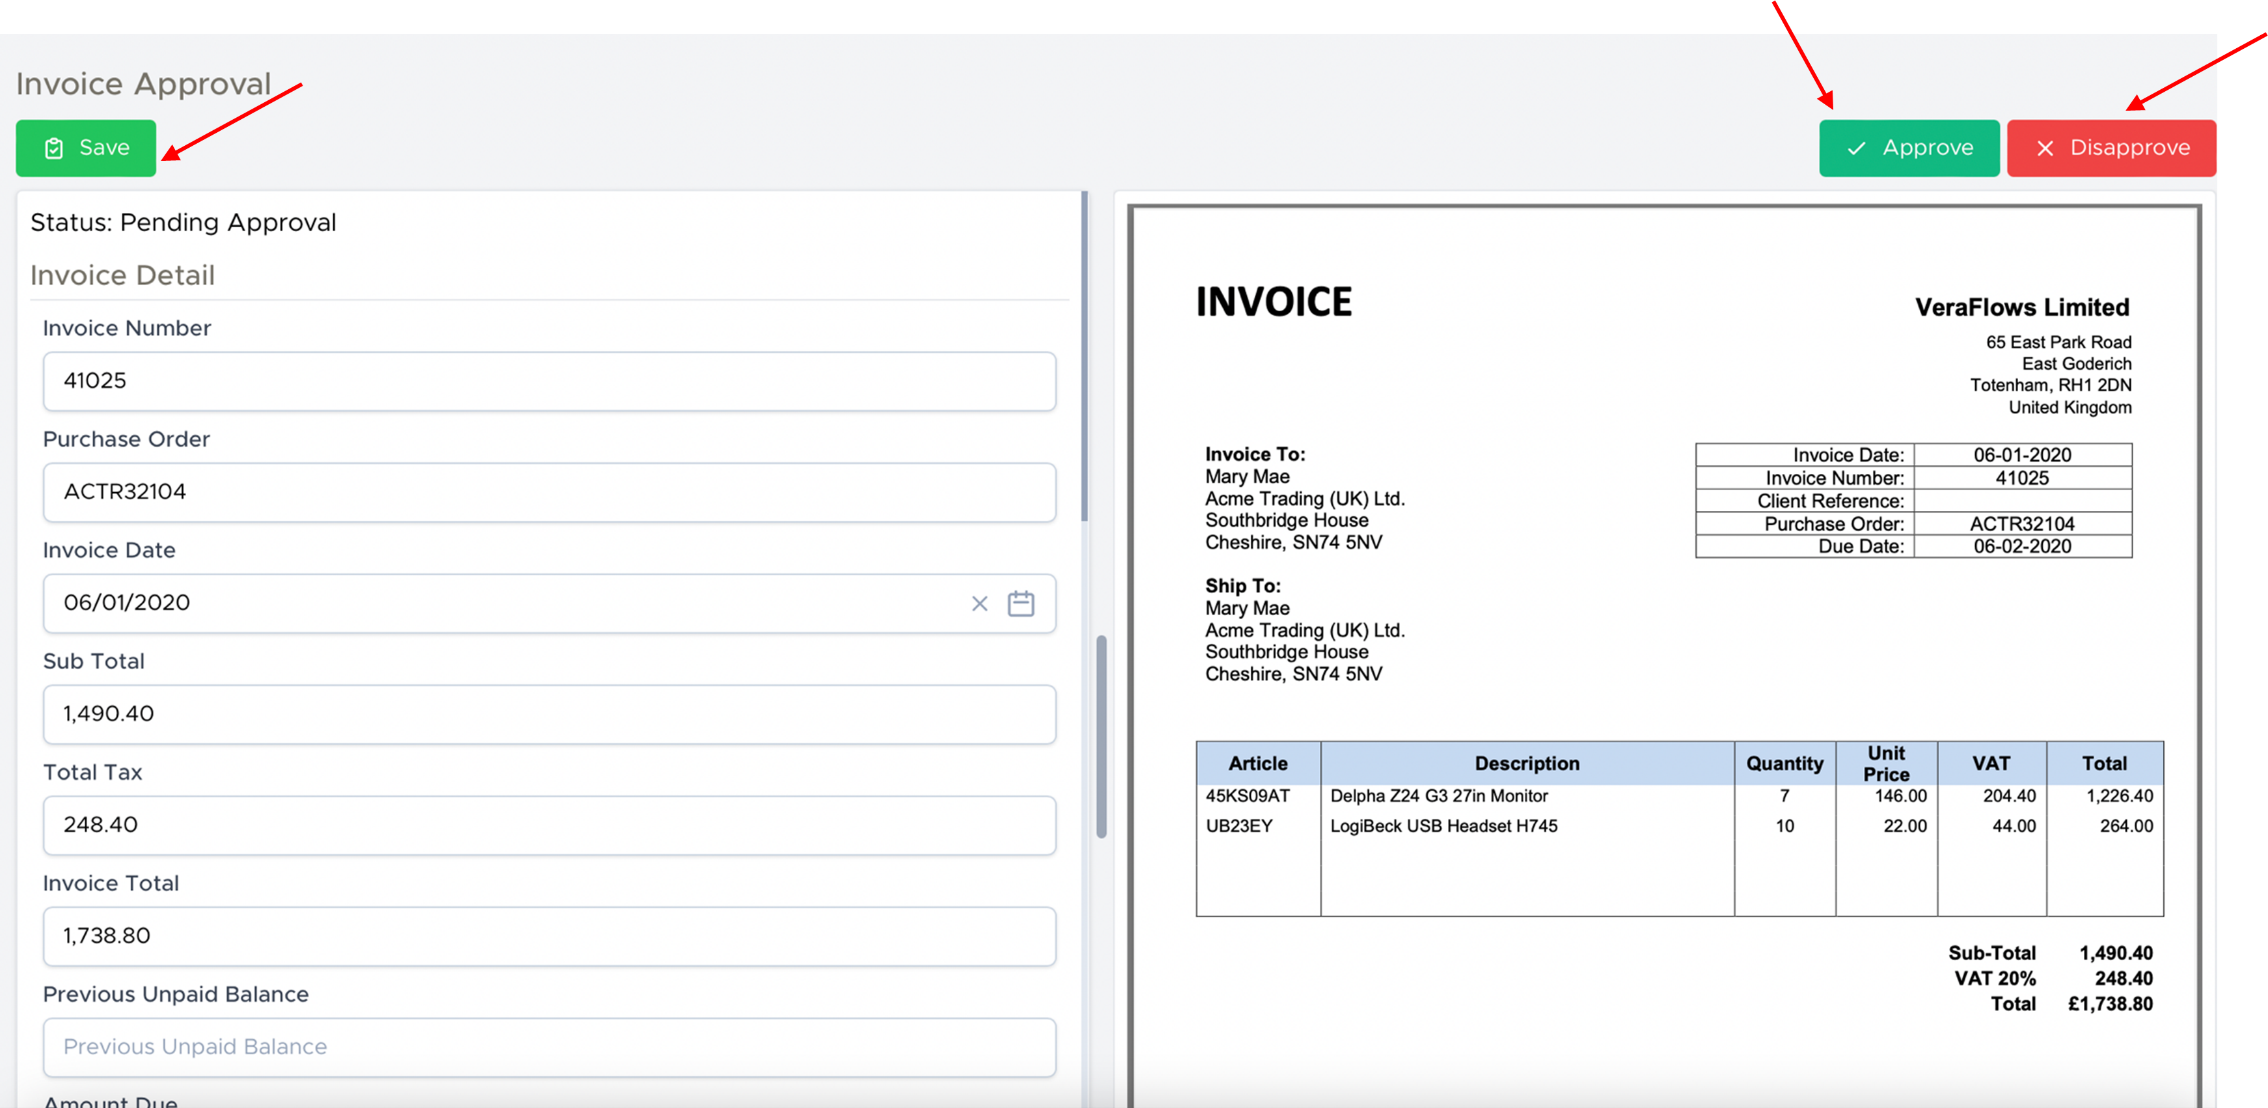
STEP 10 - Invoice Options
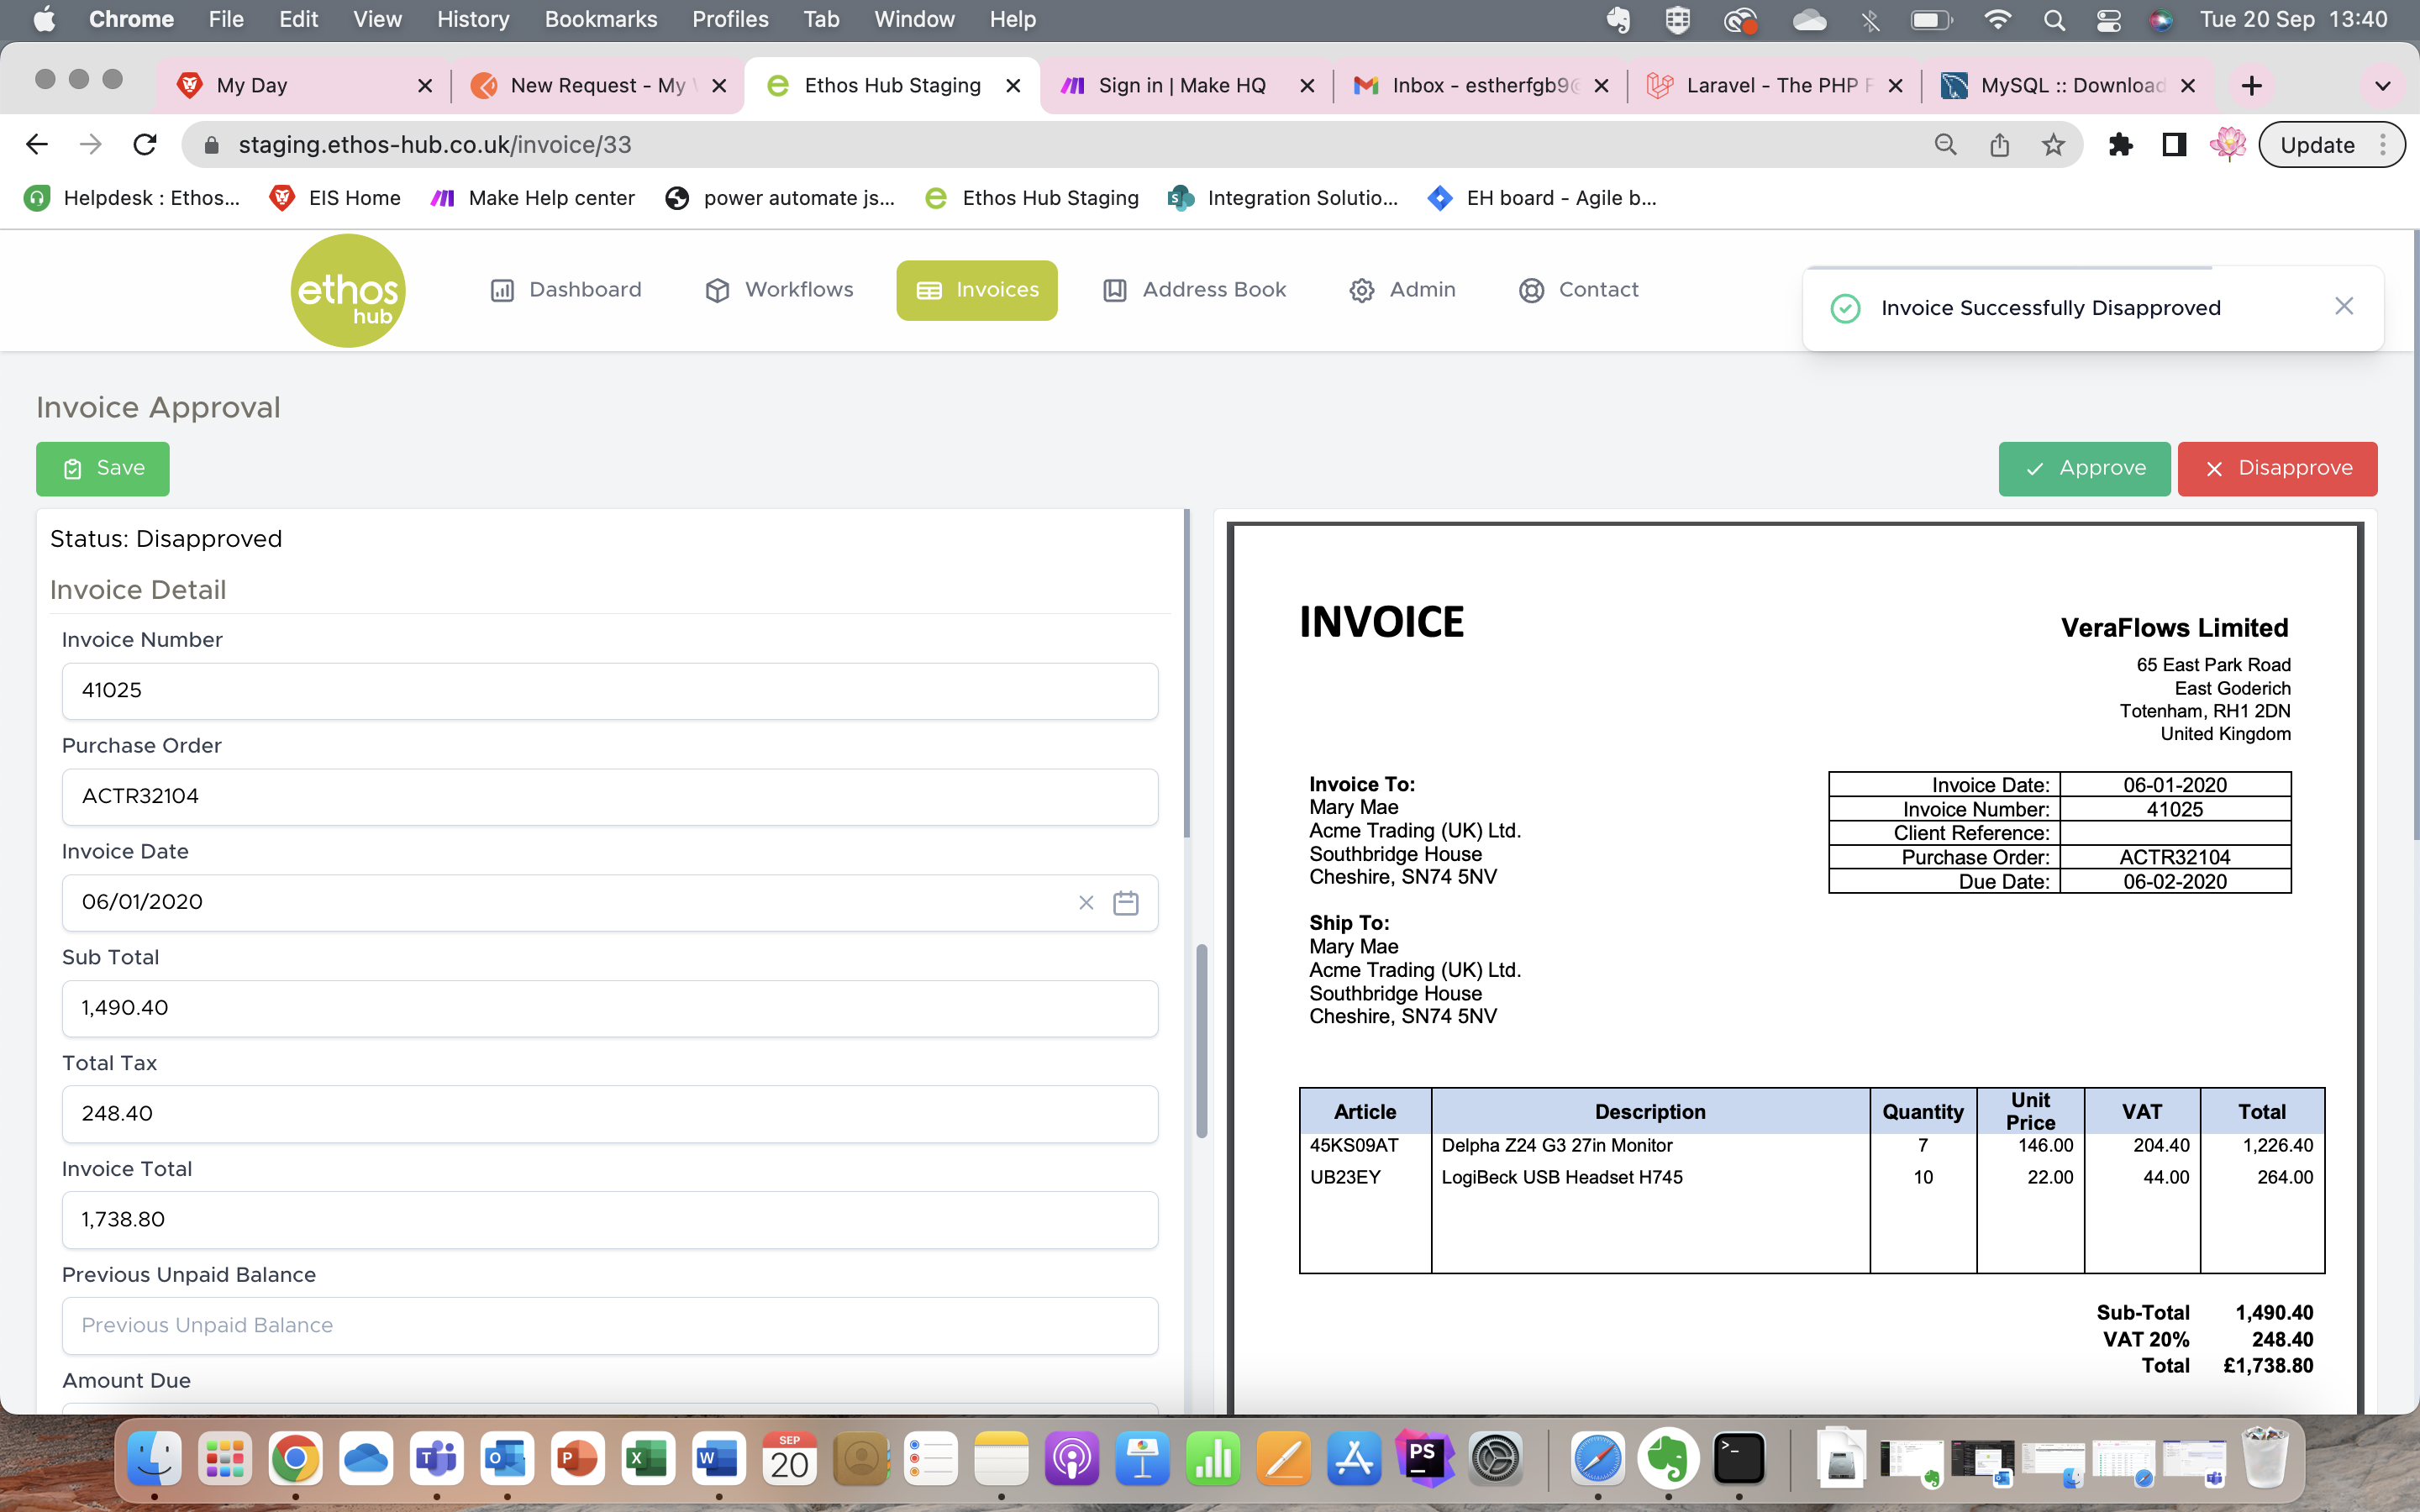
You will now be presented with the invoice approval screen which allows you to view the details of the invoice edit, save, and search for items within the invoice as well as Approve or Disapprove the invoice.
Search for items features
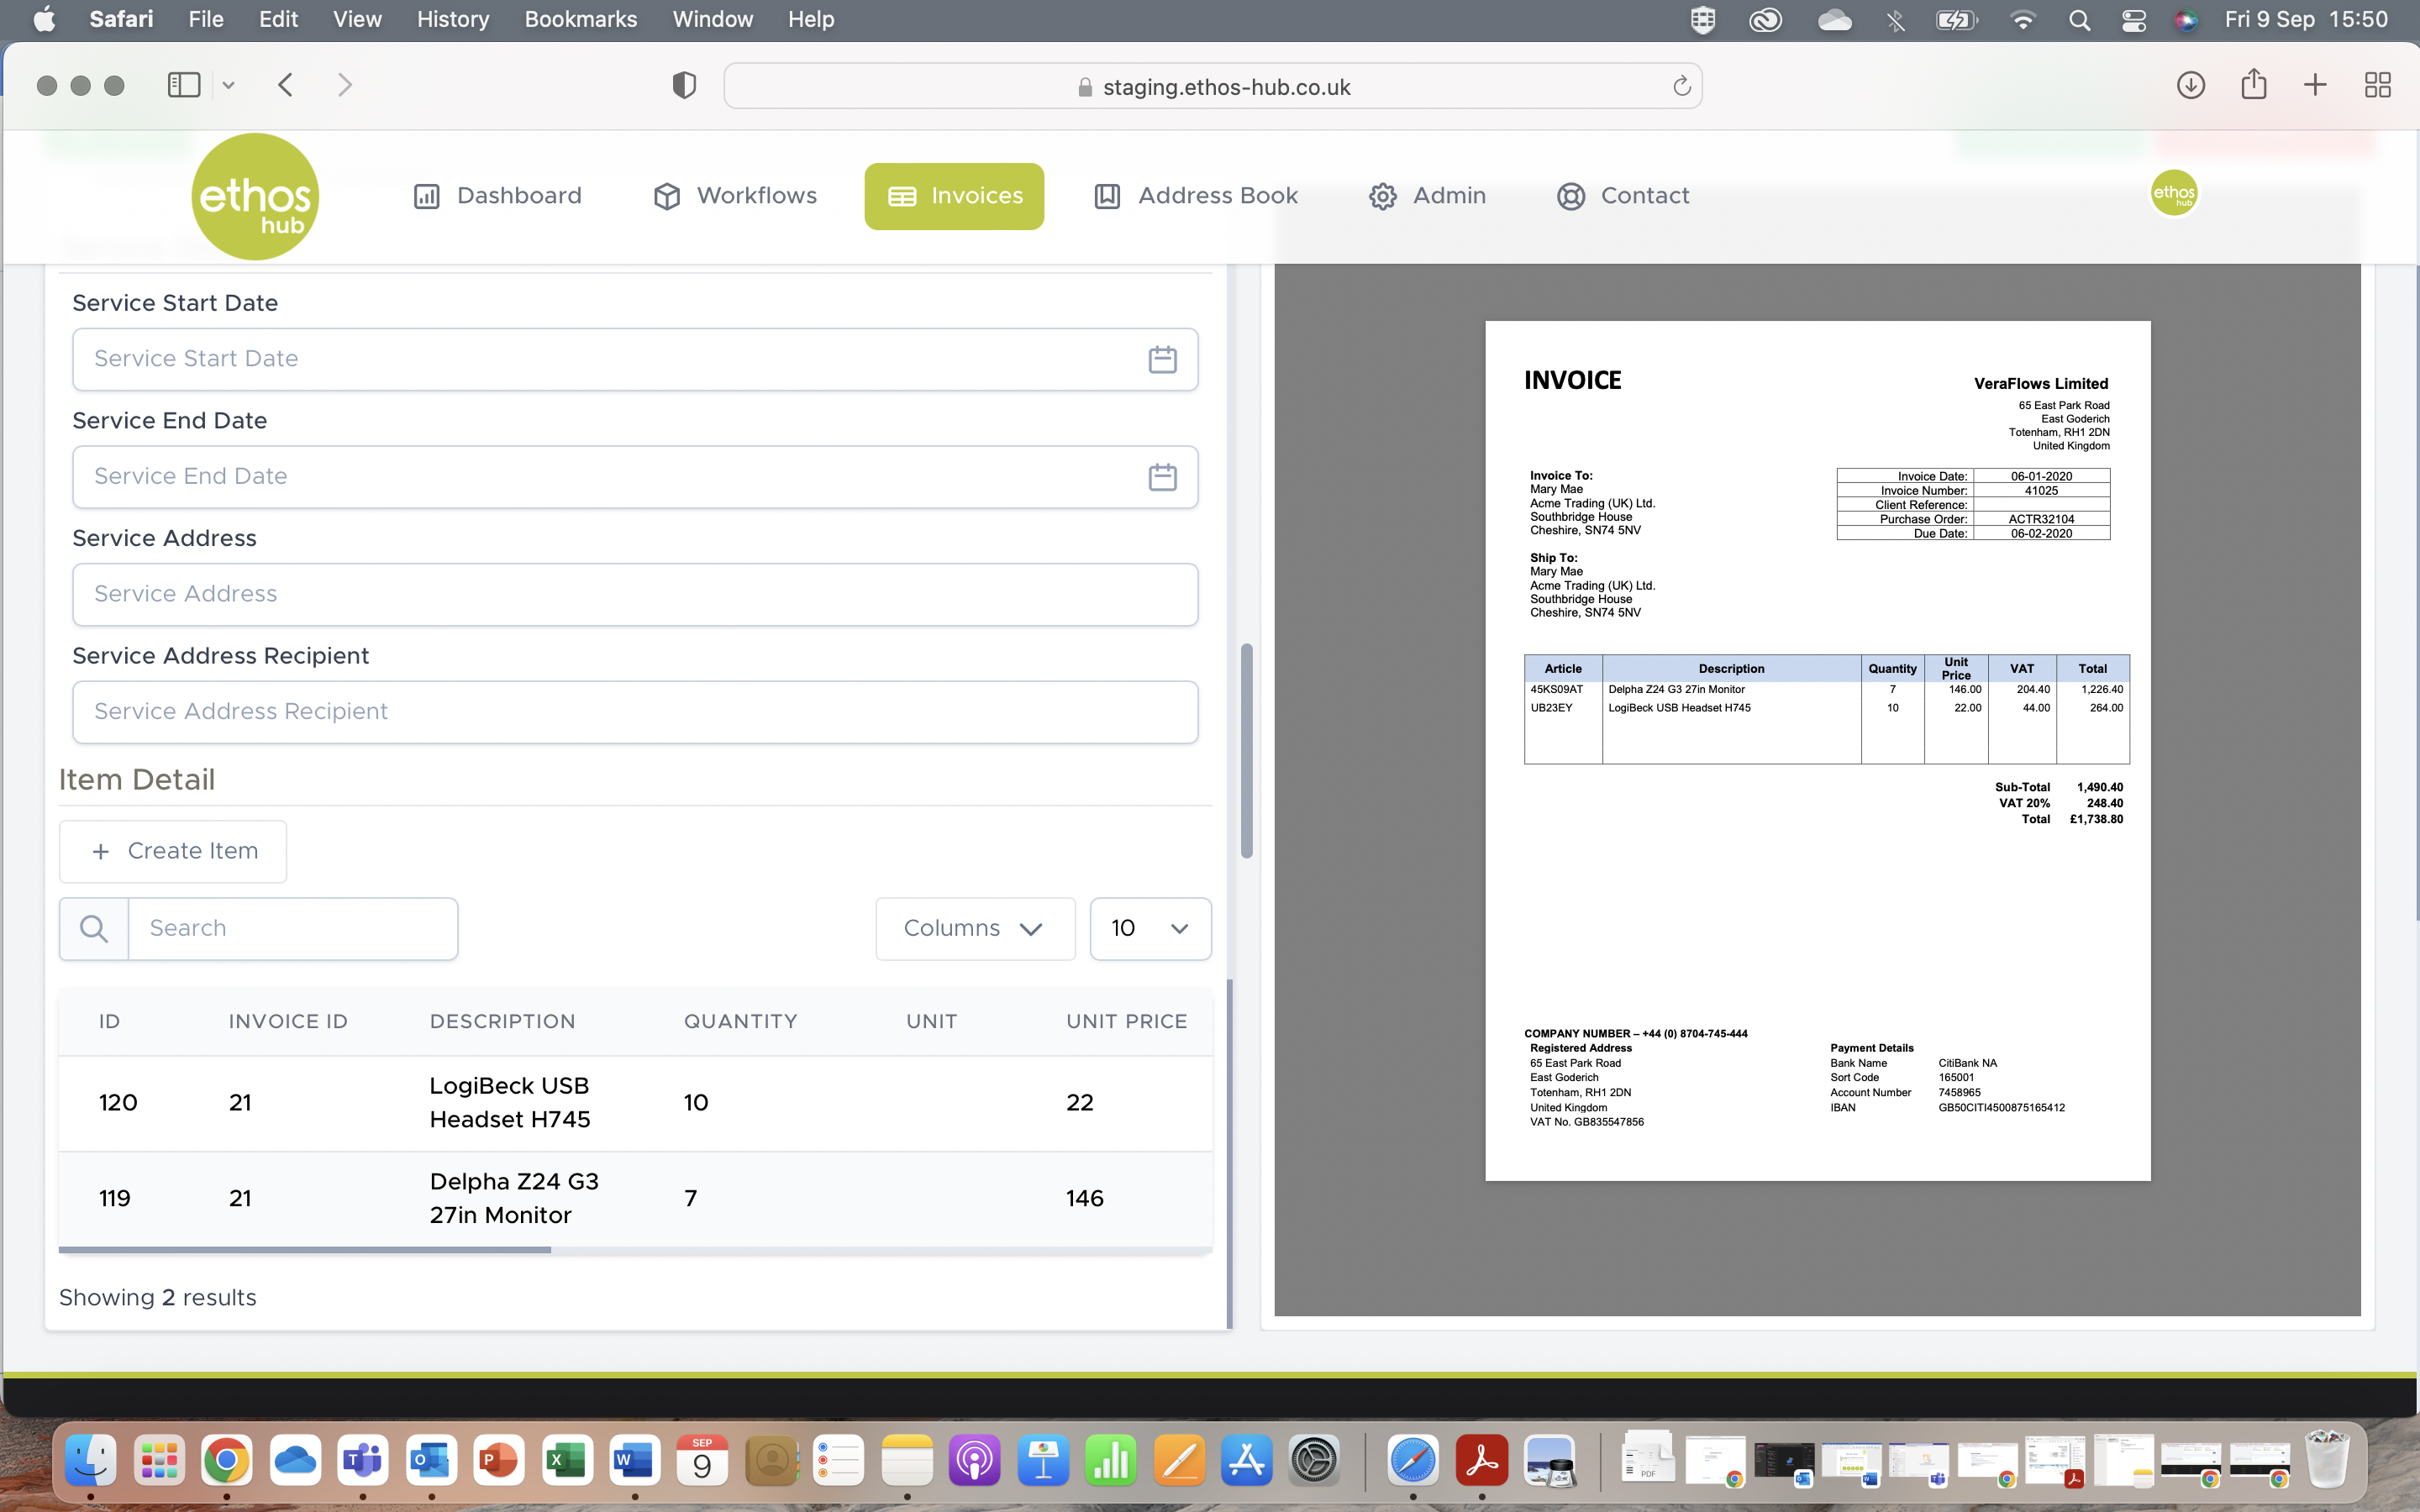 In this section you can create, search, edit and delete the items that exist within the invoice.
Approving an invoice
If you are happy with the details, you can approve your invoice. Upon approval you should receive a pop-up message that reads the following:

Invoice management
You can now click back on the invoice approval tab to go back to the invoice management page. You will now see that the status has changed to approved.
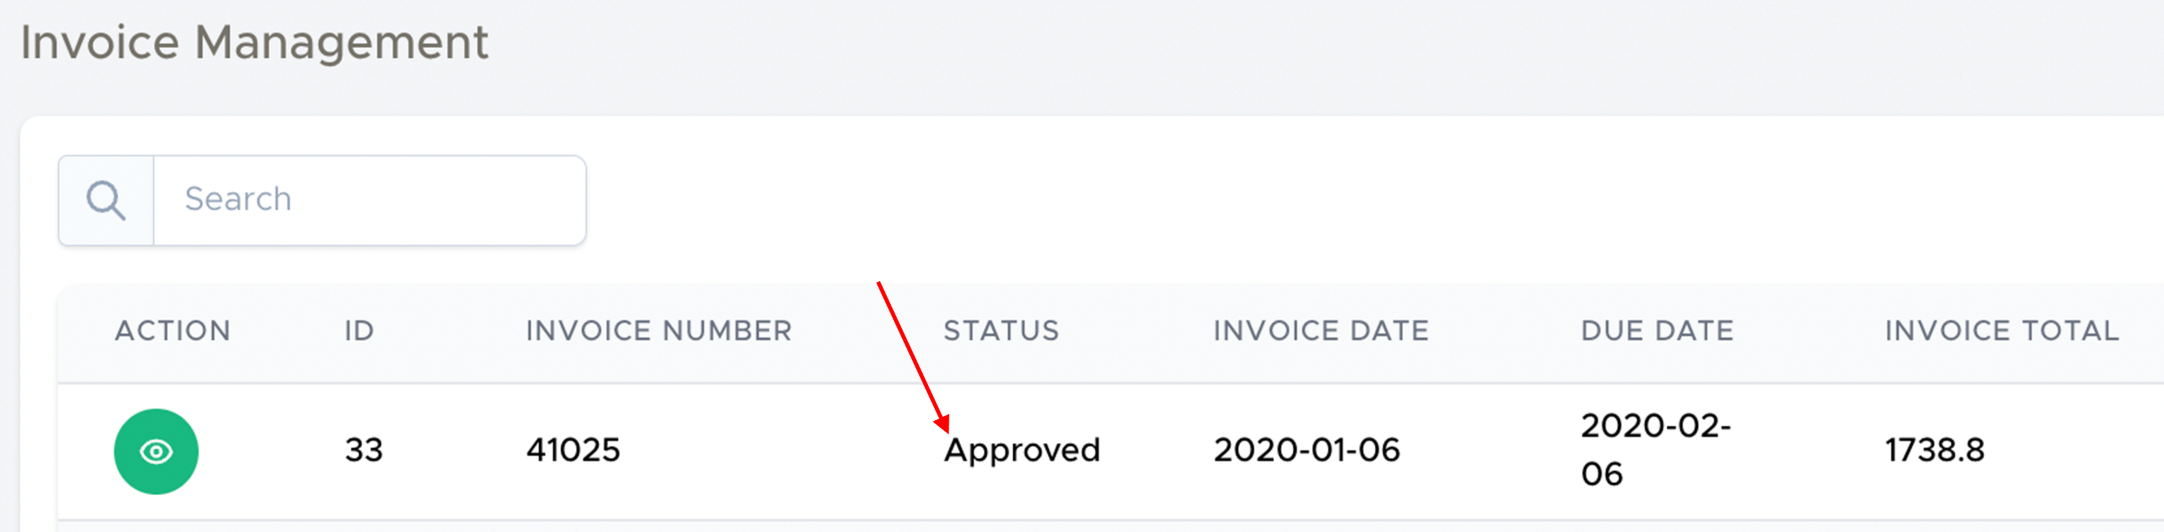
You can also see who it was approved by, alongside the time that any updates are made.
Disapproving an invoice
If you wish to disapprove an invoice. Upon disapproval you should receive a pop-up message that reads the following:
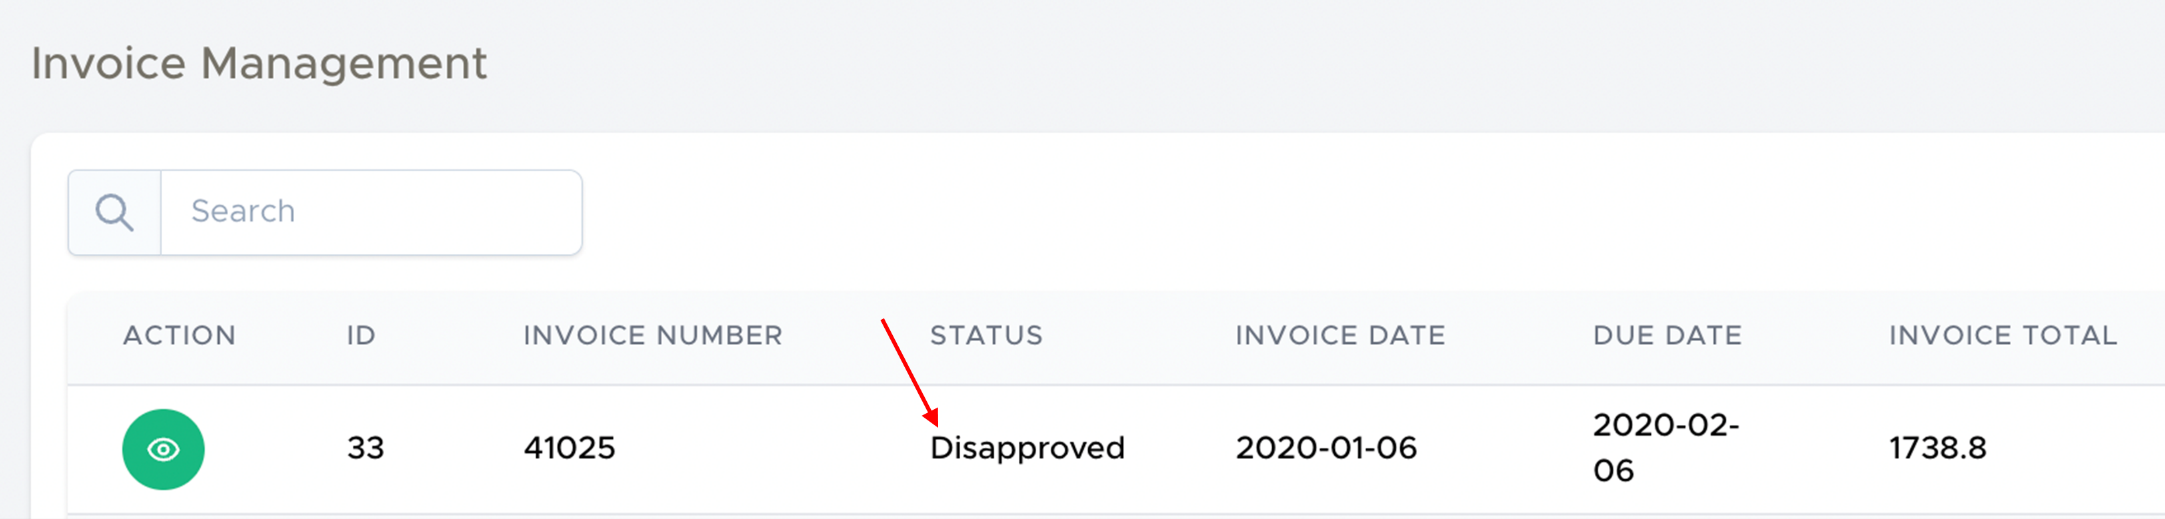
Invoice management
You can now click back on the invoice approval tab to go back to the invoice management page. You will now see that the status has changed to disapproved.
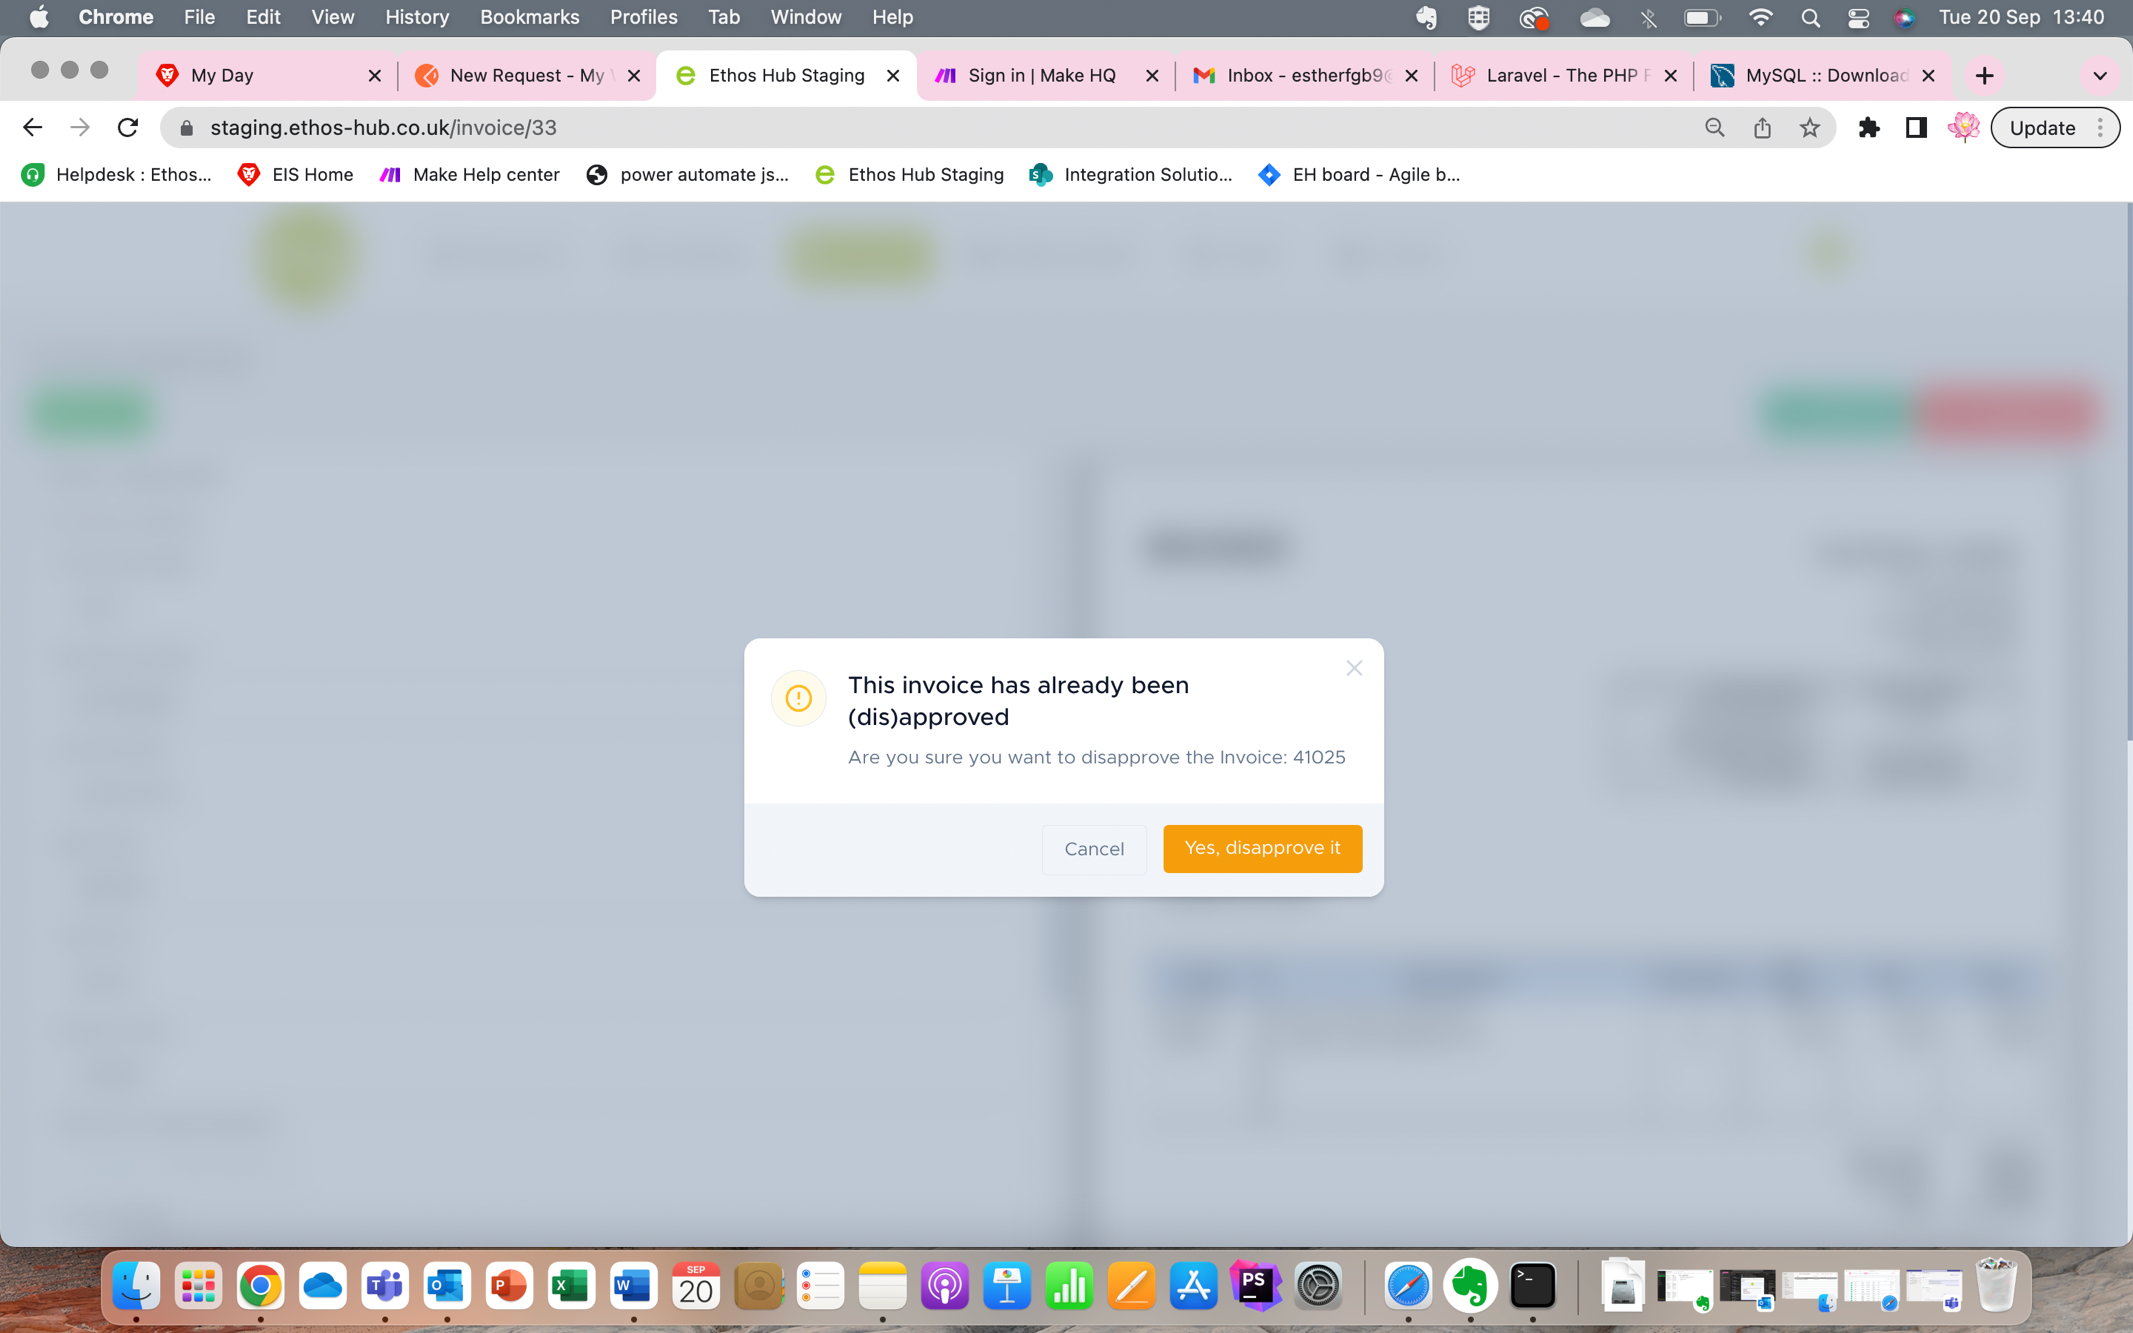
Note: If you attempt to (dis)approve an invoice that has already been (dis)approved you will receive a pop-up warning message that reads the following:
Was this article helpful?
That’s Great!
Thank you for your feedback
Sorry! We couldn't be helpful
Thank you for your feedback
Feedback sent
We appreciate your effort and will try to fix the article