STEP 1 - Login Page
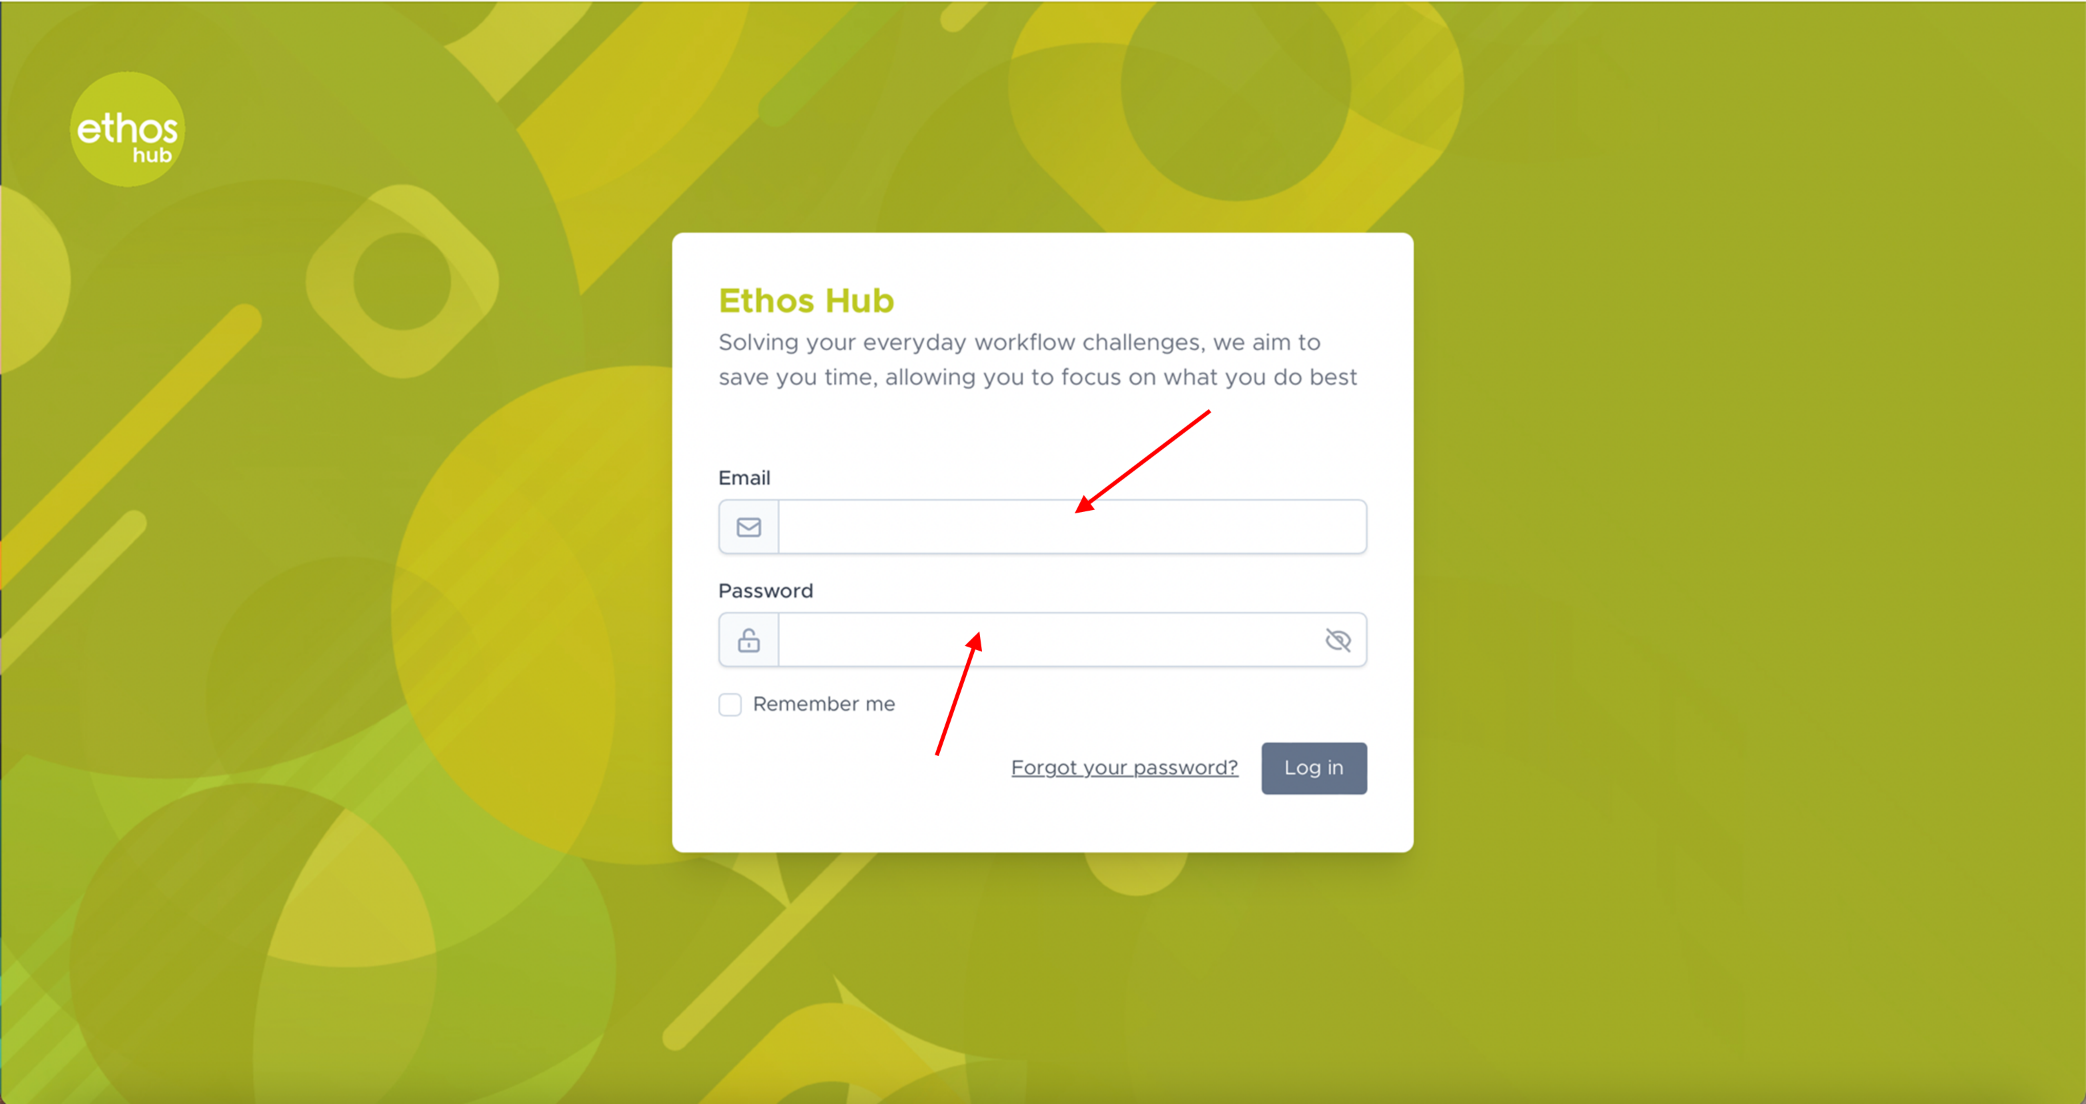 Enter your login email and password.
STEP 2 - Workflows
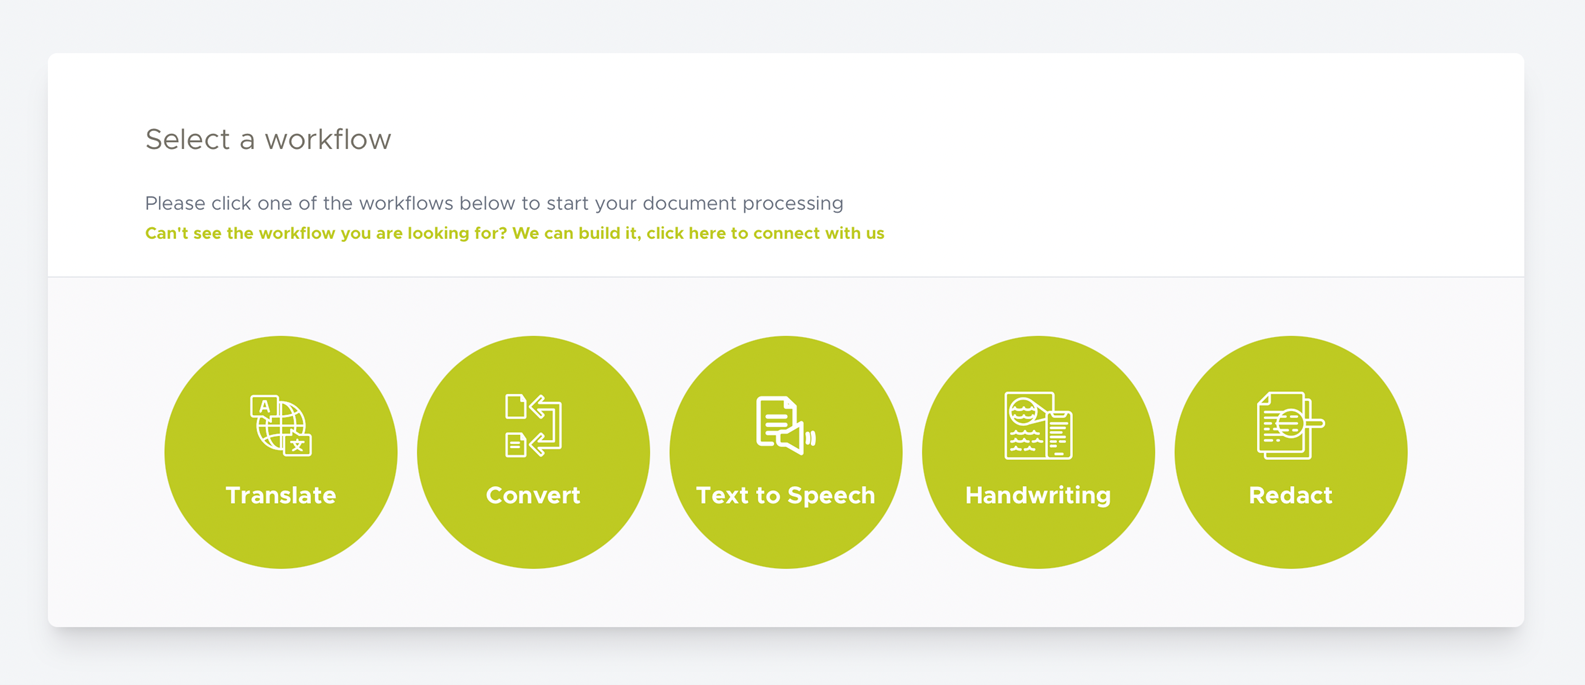 Once you are logged in, you will be presented with the following page.
Note: If you are not presented with the page shown in the step above, please select the Workflows tab displayed in the top taskbar as shown below.

STEP 3 - Select Workflow
At this stage, you will be given the option to select from one of the many workflows that we have available. Please click on the Redact workflow.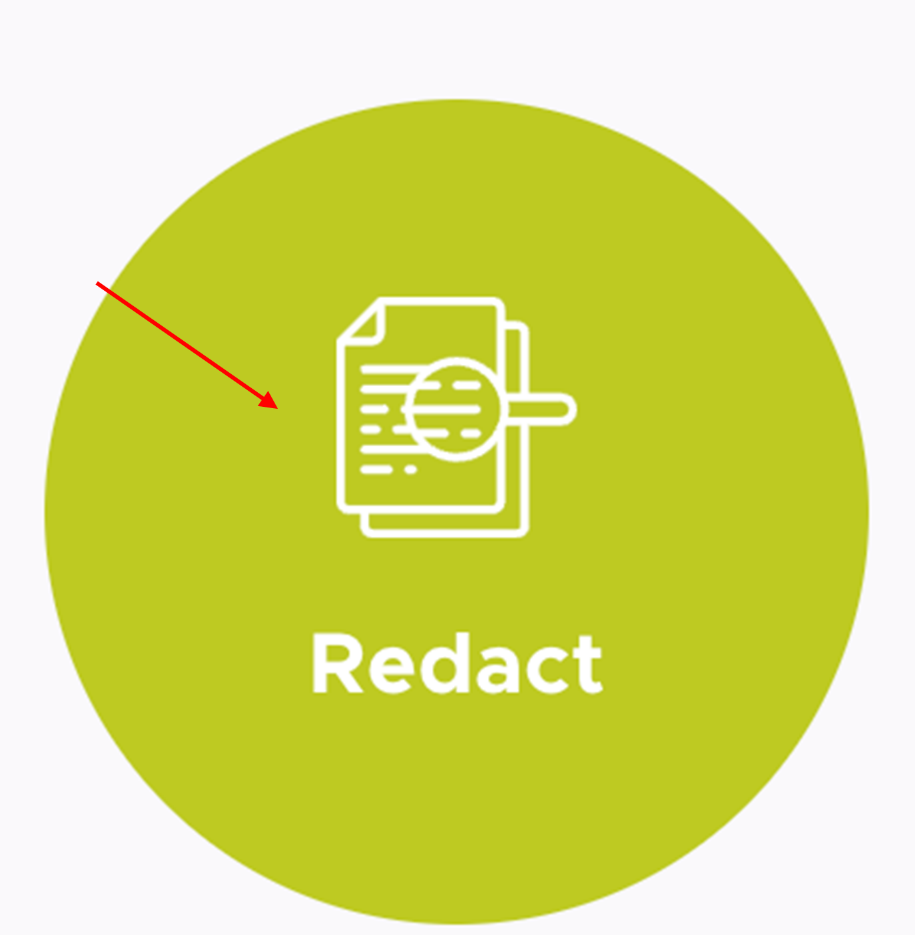
STEP 4 - Workflow Options
You will now be presented with this screen.
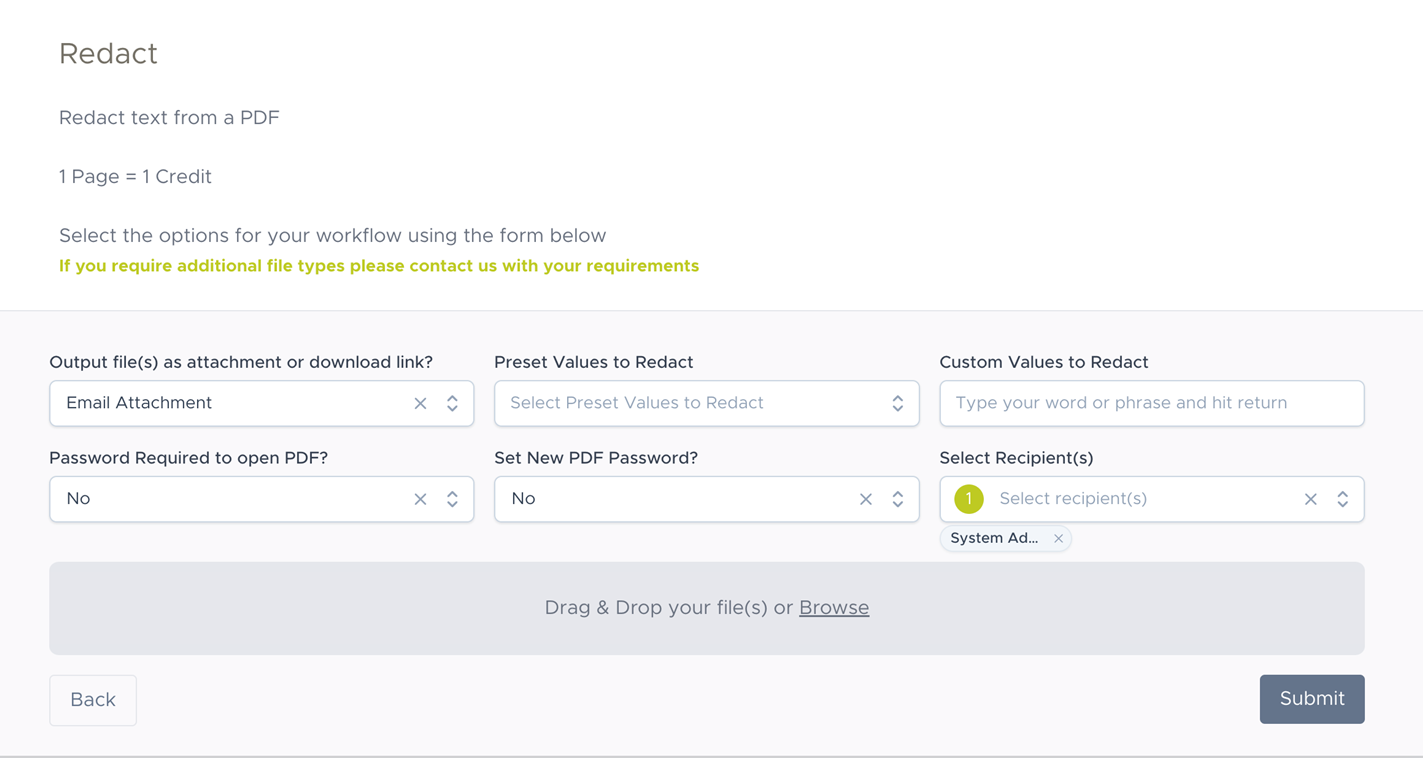
STEP 5 - Download Options
Choose how you would like your output file(s) as either an Email Attachment or Download Link.
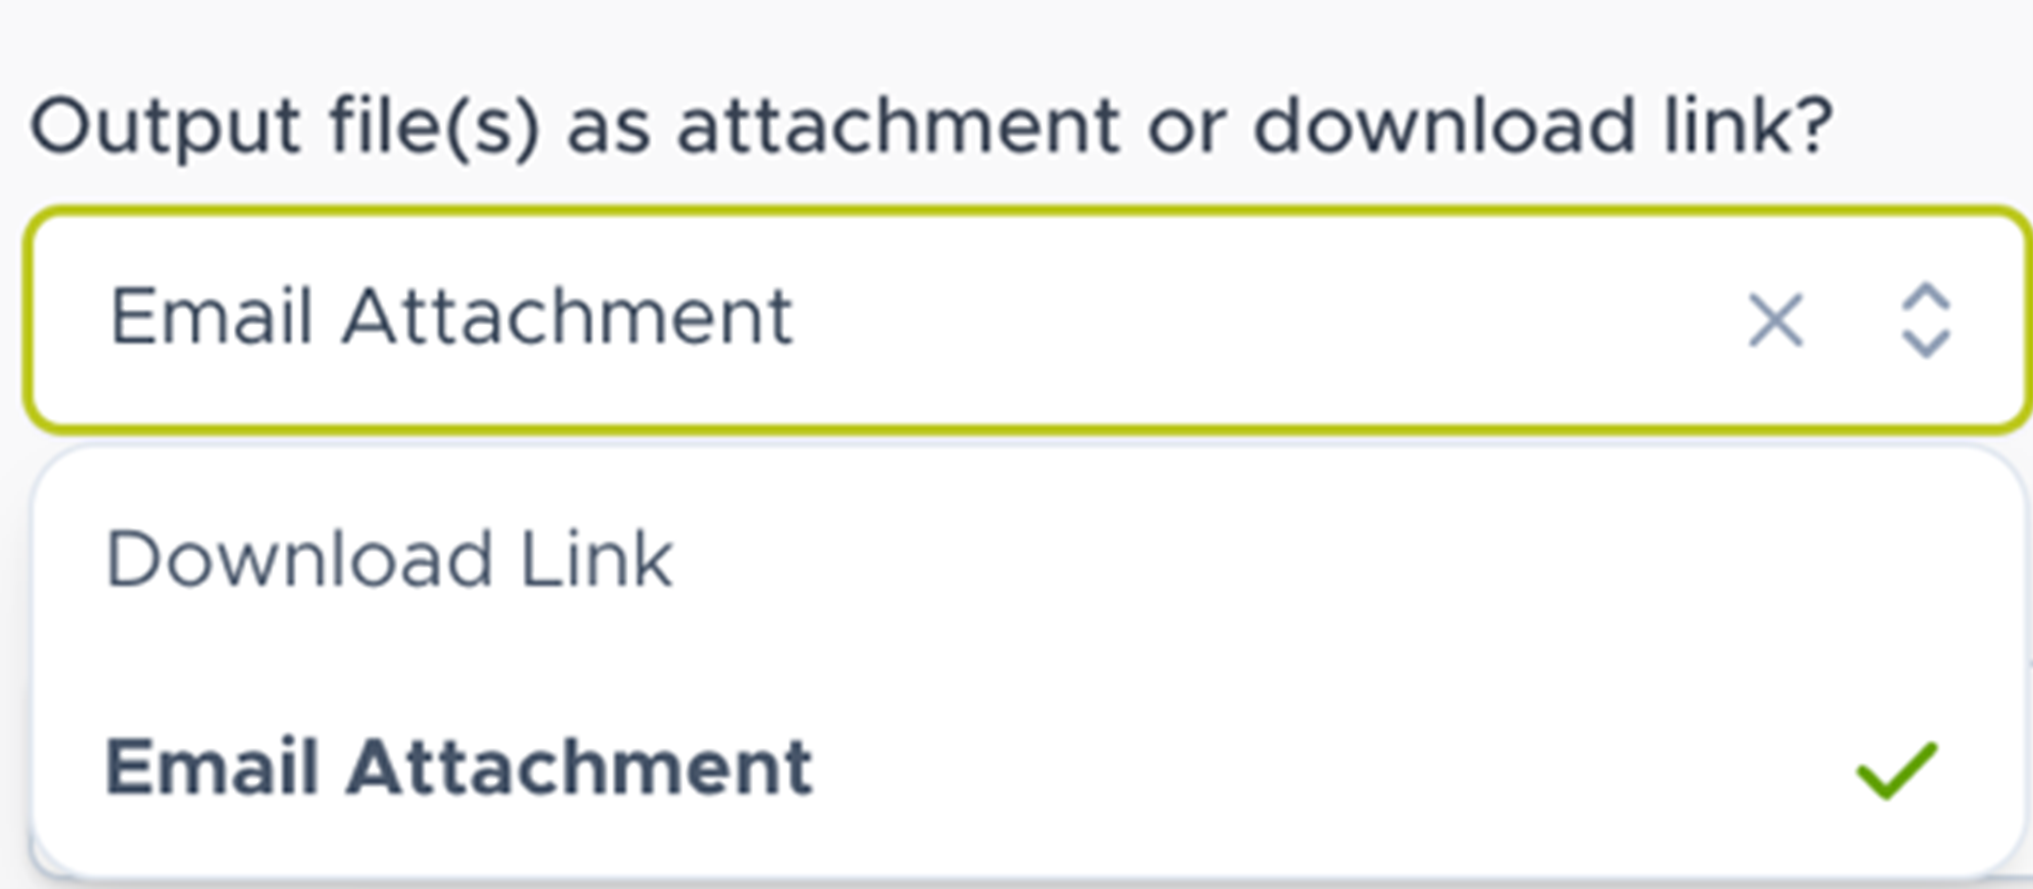
Note: If you choose to output your files as an Email Attachment you will receive an email containing your file(s) to your recipient(s)
address. If you choose to output your files as a Download Link, you will receive an email containing a download link that is valid for 24 hours.
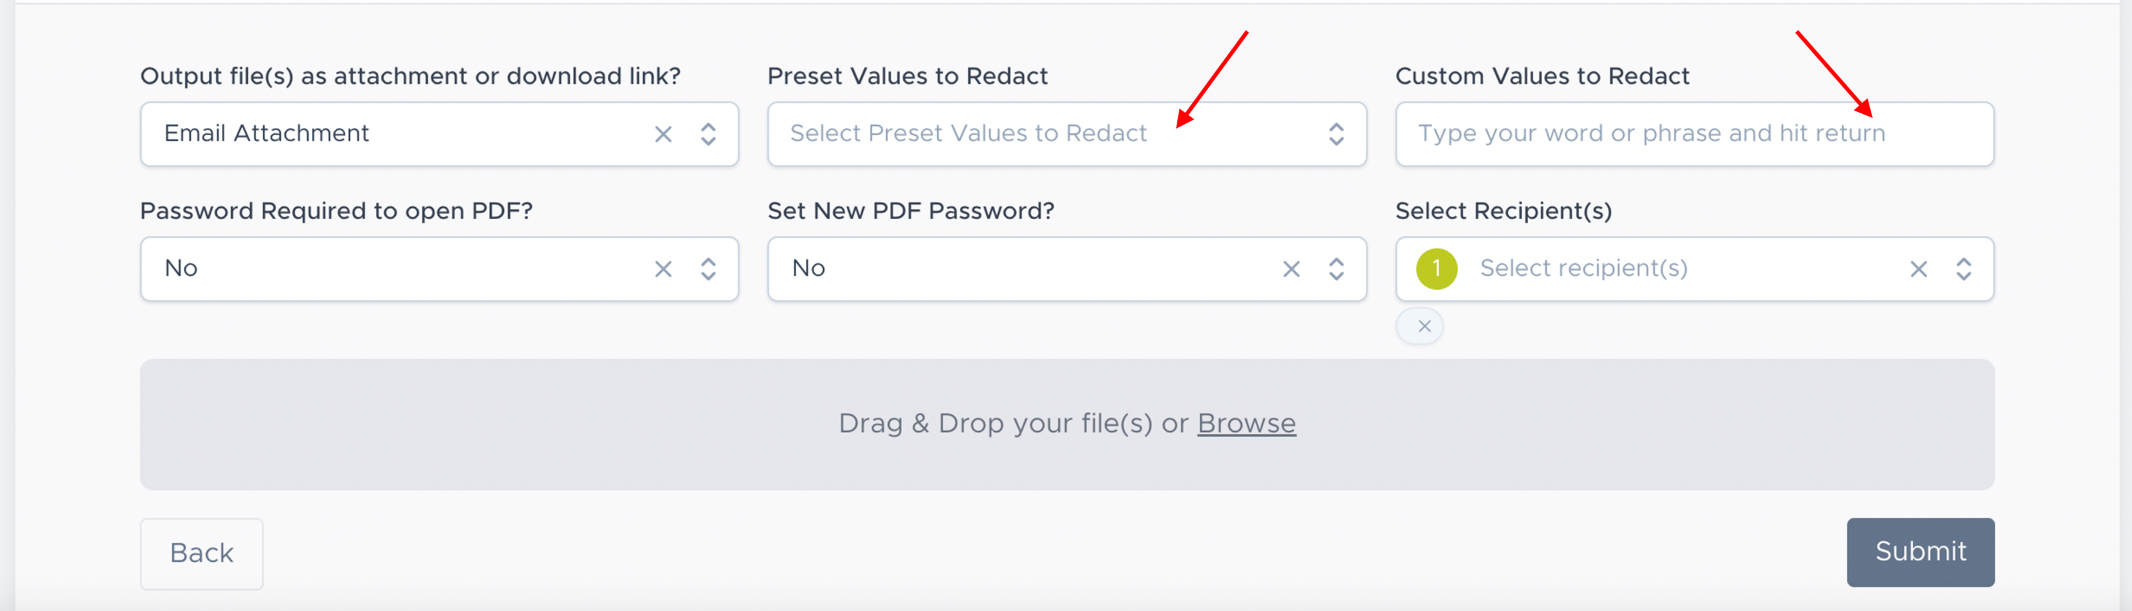
STEP 6 - Redact Options
Here you make your selections on whether you wish to create custom manual redactions and/or utilise the site pre-set redactions.
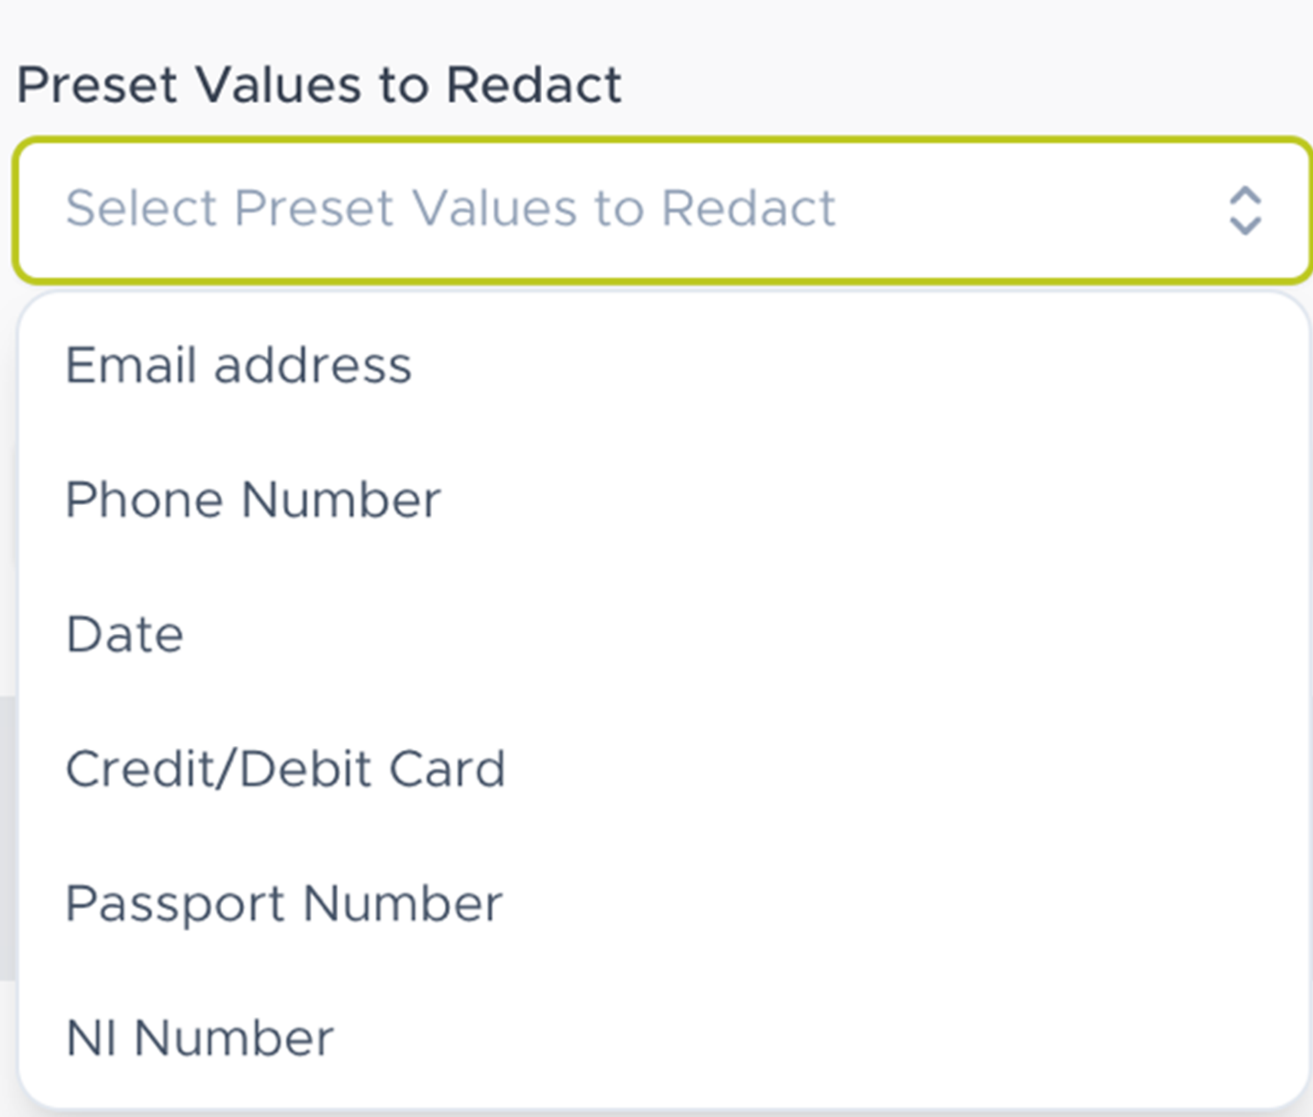
Pre-Set Redactions
We have a variety of commonly used redactions ready for you to select from such as credit/debit card details, phone number and email addresses.
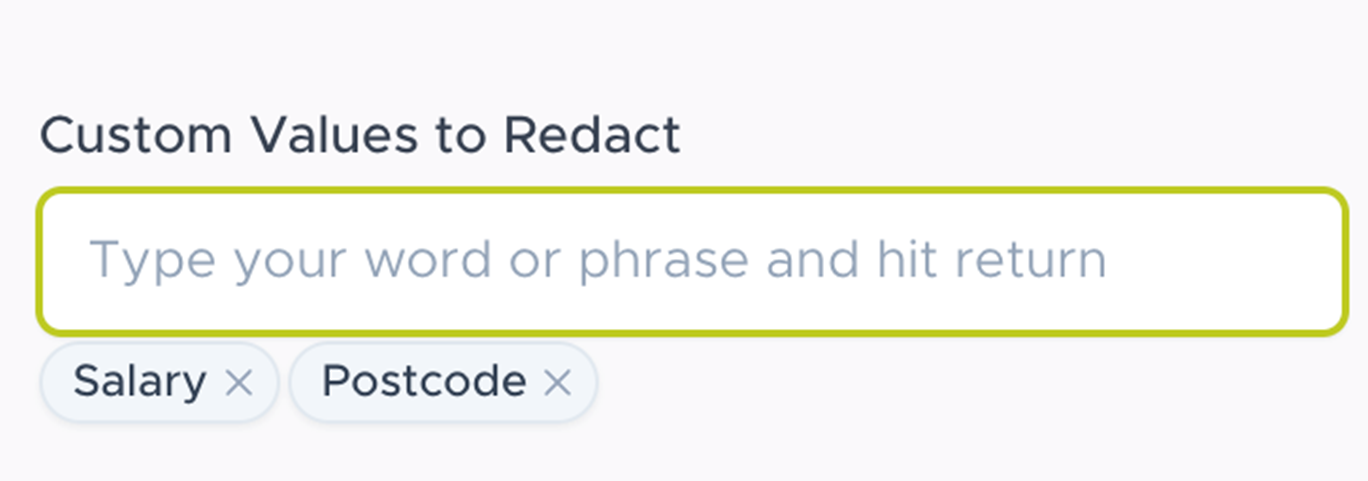
Custom Values to Redact
Adding a manual word or phrase is a simple process of typing into the “custom values to redact” box and hitting enter/ return after each entry. Your entries will be shown in the box below and to remove you simply click on the cross to the right of the value.
STEP 7 - Recipient(s)
Once you have completed your redaction choices you have the option to choose the recipient(s) you wish to send the documents to in the drop-down menu.
Note: The Recipient(s) field will automatically add your email and will also show other recipients that have been added to your address book.

STEP 8 - Upload
Upload your required file for redaction by simply dragging and dropping the file in the area below the sections or section “browse” which will allow you find the required file on your system.

STEP 9 - Submit
Once all required options have been selected, click Submit. You will receive an email with the completed workflow.
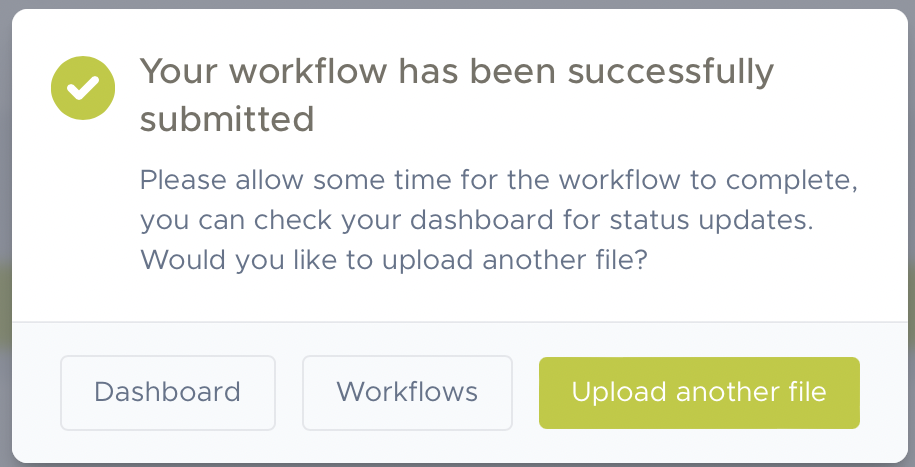
STEP 10 - Complete
After submitting the document, you will be prompted with the below screen. You can navigate back to your dashboard, choose another workflow, or upload another file.
Was this article helpful?
That’s Great!
Thank you for your feedback
Sorry! We couldn't be helpful
Thank you for your feedback
Feedback sent
We appreciate your effort and will try to fix the article